
Knowing How to Grill is a fundamental cooking technique that we encourage everyone to learn. This guide is based on years of grilling, cookbook writing, and professional catering experiences, and validated from direct feedback from our community of pitmasters.
The terms and background below are used and referenced throughout the recipes on our website. Knowing some of the fundamentals will go a long way in improving your grilling experience.
You can find more details and a demonstration of managing fire in our cookbook, Fire + Wine.
Table of Contents
Grilling versus Smoking or BBQ
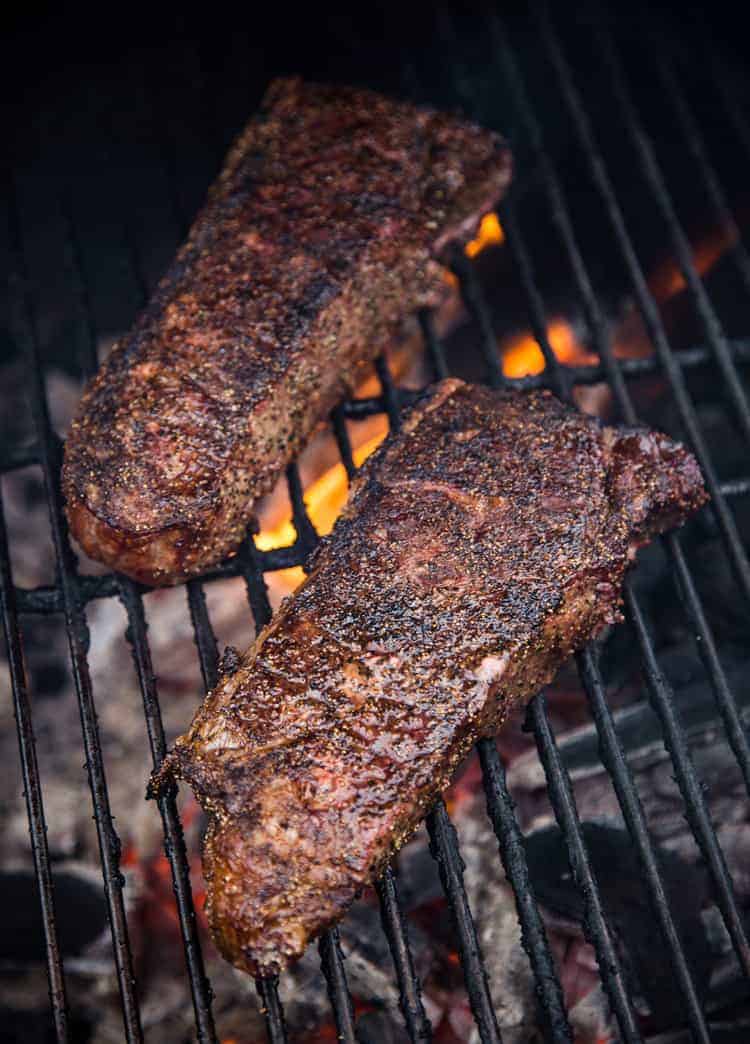
Grilling is cooking over open flame, or heat at a temperature that allows for the Maillard Reaction to occur, typically over 350 degrees Fahrenheit (F). Maillard Reaction is essentially the browning process that occurs when cooking meat over direct heat. An added benefit of grilling over open flame is getting flavor from charcoal.
Smoking, also known as barbecue (BBQ) is cooking at a lower heat, usually under 300 degrees F, with the heat source not directly under the meat being cooked (or indirect cooking). Adding wood provides additional flavor from wood smoke. The longer cooking time is better for breaking down tougher cuts of meat, like brisket or pork shoulder.
Smoking is synonymous with the term “barbecue” (referring to low and slow cooking: low temperature, slower process) versus “grilling” (hot and fast: hot temperature, faster process).
Heat Sources
There are a few sources of heat that most commonly fuel grilling. The goal is to have an efficient and hot source of heat but not large flames. Flames will burn meat and cause uneven cooking.
The most common heat source we use is charcoal. We light charcoal first to get to an efficient state of hot embers (or coals) for cooking.
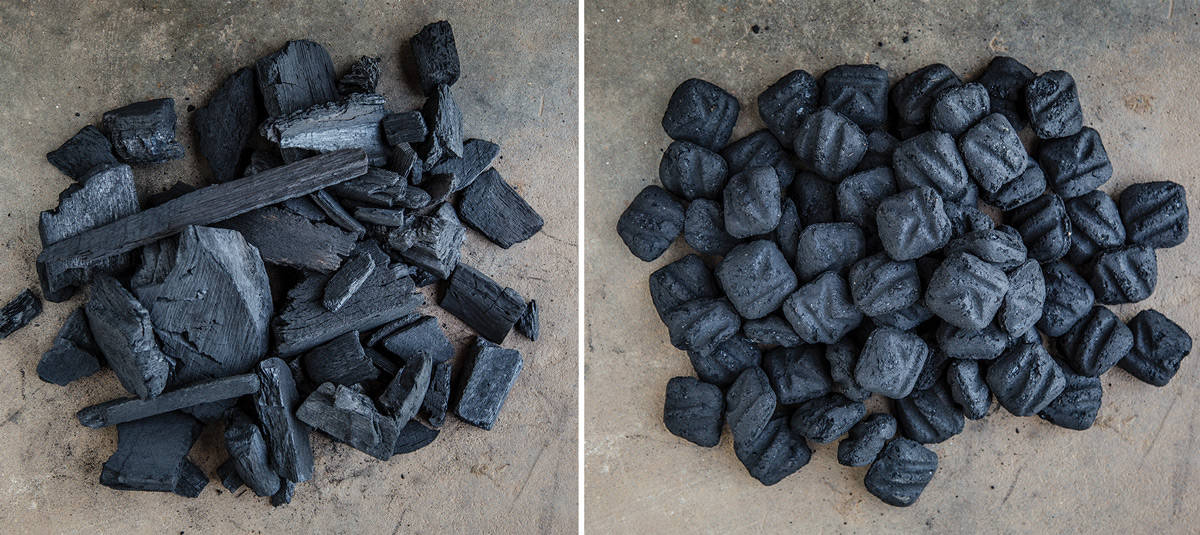
- Lump Charcoal – This is our preferred fuel. This is wood that is burned with minimal oxygen, removing moisture from the wood to get the most efficient coal possible for heat. Lump coals come in all shapes and sizes, and when you buy lump charcoal it is normal to see a variety of different sizes in the bag. Though the better quality lump, the more consistent the size of the lump.
- Briquettes – Briquettes are charcoal, like lump, but they are often made from wood byproducts. Briquettes are uniform in size and look, and are pressed together with binding elements. We elect not to use most briquettes because the flavor and smell often has hints of the binding agents and what you smell when you light a fire will in some small ways infuse into the meat being cooked. We are looking for the most natural flavor possible.
- Wood – Wood chunks or logs can be burned like a campfire into embers or hotter sources of heat and used to grill as well. This method takes much longer, and if preferred it is best to have a running fire that is consistently generating embers and you use a shovel to put the coals into the grill.
- Natural Gas – Propane or some other natural gas is another form of heat. These are designed with a plate over the flame source preventing flame ups from happening while grilling causing burning and bitter flavor. Gas is much easier to control the heat using the dials and zones for any given grill. However the same techniques are just as relevant for a gas grill.
Controlling Heat When Grilling
Oxygen fuels a fire. Letting in more airflow creates a hotter fire. Remove oxygen or airflow to get a cooler fire. The basics of controlling heat:
- Start with enough fuel that has already been pre-lit.
- If the heat is too low, introduce more air flow to stoke the fire and increase the heat by adjusting the vents.
- If the heat level is too high, remove the flow of oxygen to lower the heat.
- Control airflow using the vents on the cooker. Opening up the vents fully provide the hottest fire, and closing down the vents will eliminate oxygen cooling the heat.
Every type of grill will be set up differently, but the most important thing to do is start your charcoal, preferably in a charcoal basket or chimney first. This speeds up the process to get hot coals. Then when you place the coals into your cooker, learn how to use the vents to control the airflow. The vents will help control and maintain consistent temperature.
About Gas – The same applies to gas grills, however when you turn the nobs, you are simply forcing more gas to combust and increasing the heat units. The more gas you expose to oxygen, the hotter the flame will get.
Starting Charcoal
When learning how to grill we strongly discourage the use of lighter fluid! The bitter flavor of lighter fluid will carry into the food you are cooking. It is not necessary, and we do not recommend it.
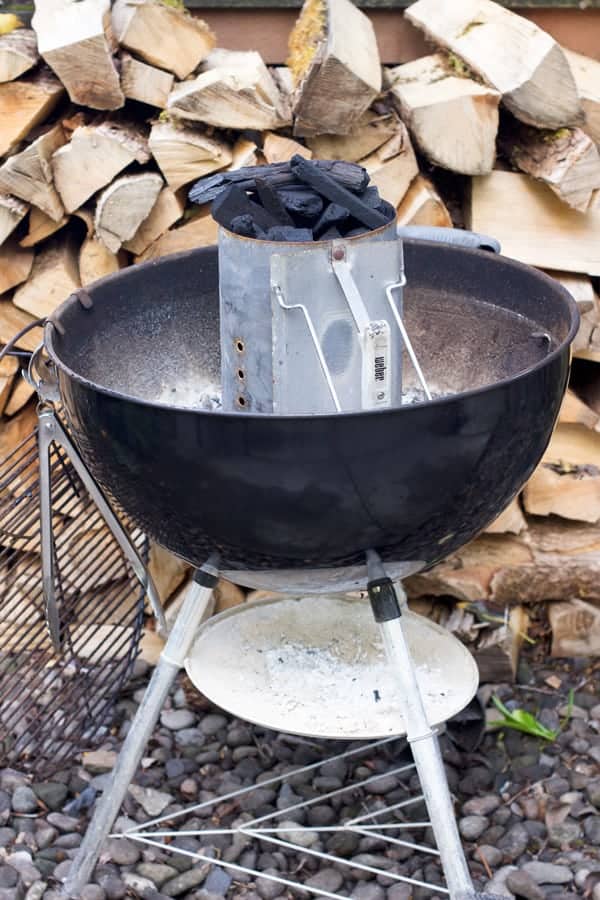
The easiest method (and what we use) is using a charcoal chimney starter or starter bricks. We have a tutorial on how to use a chimney starter here and is the best and fastest way to get charcoal to a hot temperature.
Methods of Grilling
There are several methods we use most commonly, depending on what we’re grilling.
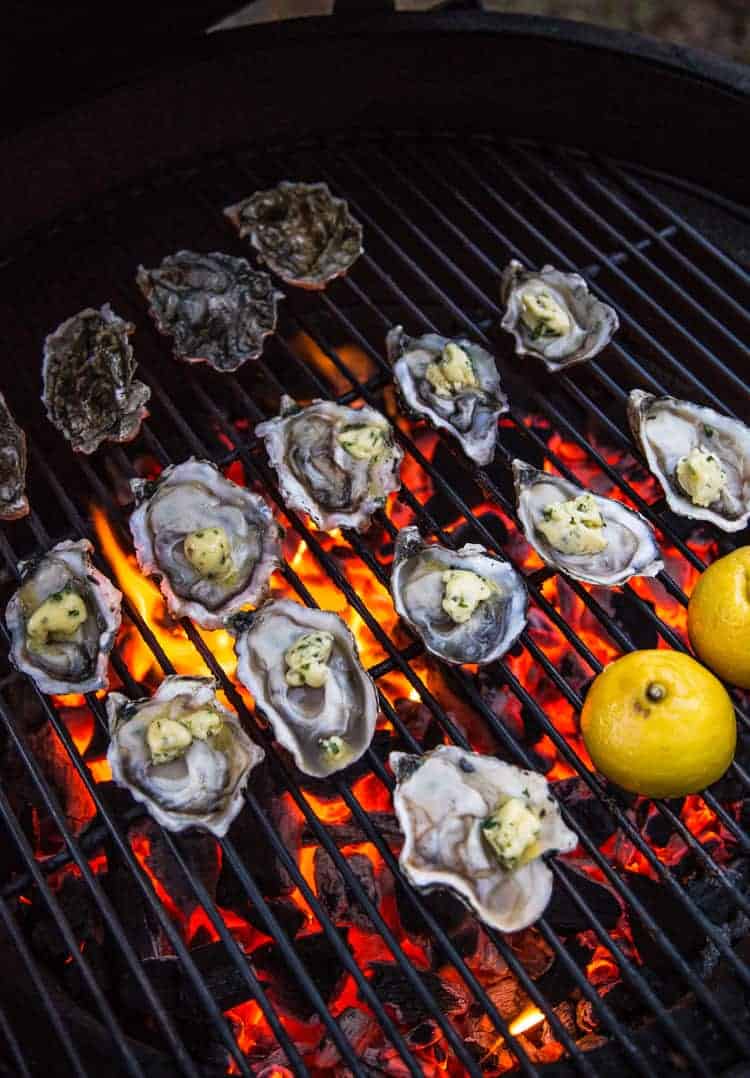
Direct Grilling
Direct grilling is when the heat source is directly under the food. The downside to cooking only over direct heat is the potential to burn your meat for longer grilling times, like chicken. However, the direct method is great for searing fish, grilling oysters (like the photo below) or thinner meat cuts like skirt steak, which cook quickly because of how thin they are.
Indirect Grilling, or Two-Zone Method
The two-zone method is the most common way we cook and the best way to move your food from the hotter zone to the cooler zone and prevent burning. The set up is a direct heat source on one side of the grill, and no heat source on the other.

Three-Zone Method or Gradient Method
The gradient method is similar to two-zone, except you have a gradient of charcoal from one side of the cooker to the other. It’s broken up into three zones, on one side completely indirect, the center a moderate direct heat source, and on the opposite side, a high heat direct source with the charcoal closest to the grates. We love this method for vegetables that cook at different heat levels.
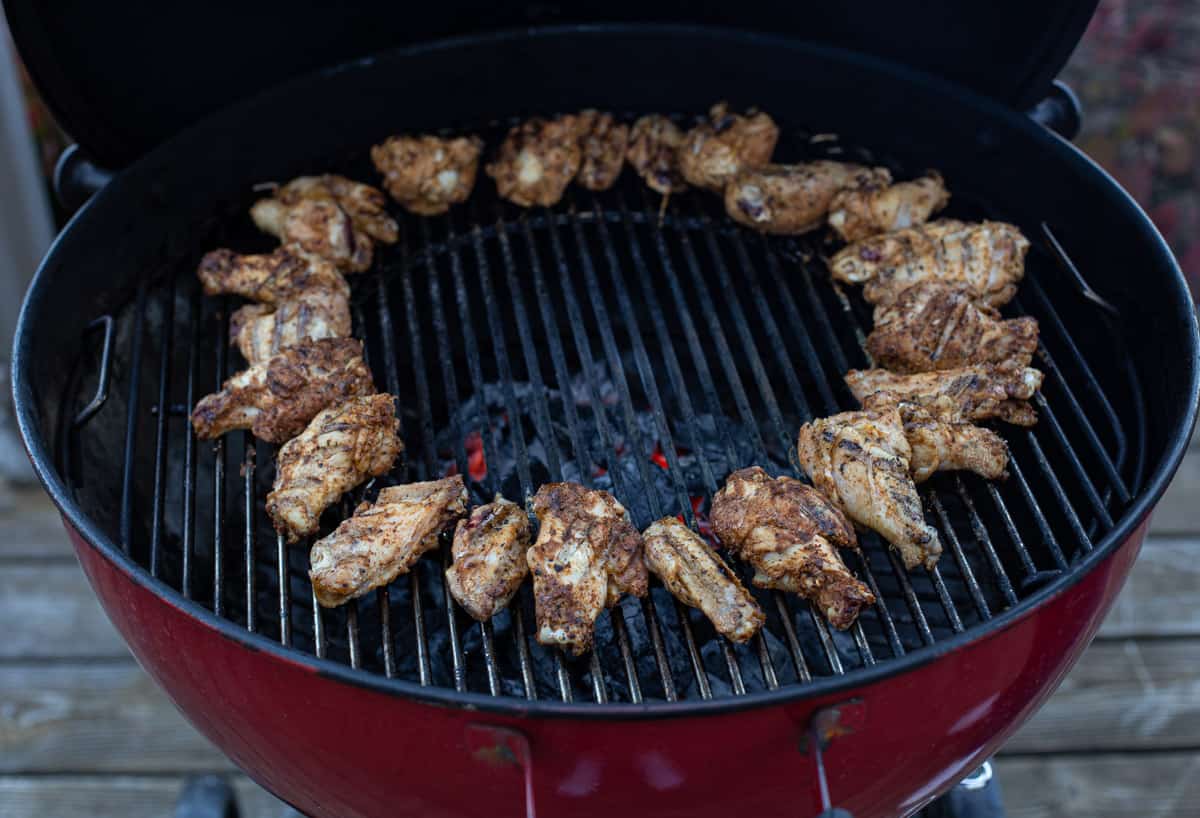
Vortex
Vortex is a two-zone method with the direct heat placed in the center of the cooker. This method is great when needing the outside edge to be slightly cooler and best when grilling chicken wings, or a large number of turkey legs. You can see an example of this with our Buffalo Chicken Jalapeño Popper Recipe.
Reverse Searing
Reverse Searing is a more advanced technique in which you start by smoking the meat at a low temperature and finish over direct heat. This is actually my all time favorite way to cook a steak, and we have a whole separate article addressing how to reverse sear.
Monitoring Temperature
Grills will come with their own dial thermometers built into the grill. While these are useful, they’re only accurate for measuring the temperature right where that thermometer is located. So it’s important to know how hot the grill is directly over the flame and over the indirect side.
The temperature is hotter right at the grates over direct heat vs where the dial thermometer is located (the difference of those several inches makes a big difference in exact temperature).
Types of Grills
There are many styles of grills, and you learn to adapt to the specific features of each grill. However, the methods above are still the same with some minor exceptions. These are the grills we have cooked on.
- Kettle Grills – These grills are great for a starter budget and can make some fantastic grilled foods. There are two vents on most kettle grills: one vent on the bottom that doubles as an ash vent, and the other on top of the dome shaped lid. Air is pulled in from the bottom vent, through the cooking chamber, and exits the upper vent. If you leave the bottom vent fully open, you can start to control the heat more with the top vent by closing it down in small increments to maintain your preferred temperature.
- Kamado Grills – A Big Green Egg is an example of a Kamado Grill. With roots in Japan, these efficient grills are great for both low and high heat cooking. When grilling hot and fast, they operate much like a kettle grill in that they have two vents (one on the base and one on the top of the grill). The air flow travels in through the bottom vent and out the top. Similar to a kettle grill, if you leave the bottom vent fully open, you can start to control the heat more with the top vent. Just close the top vent down in small increments to maintain your preferred temperature.
- Pellet Grills – Pellet grills by design are intended for indirect cooking. Not all pellet grills are designed for high heat grill. But for those that have thought about “direct” heat, like MAK Grills, the design allows for direct heat to be applied to meat being cooked.
- Gas Grills – The ability to control the higher heat with a dial is a nice feature. That said, flame ups can still occur and we still recommend the two-zone method of grilling when using gas grills. You can even smoke on a gas grill.
Other grills exist too, like barrel cookers, and a host of other variations. The same principals applies when using other grills.
Frequently Asked Questions and Myths
At some point you have heard to let the meat rest to room temperature before grilling. This myth is not true and does not materially affect the outcome of a grilled steak. The theory is that it prevents overcooking the steak by speeding up the process of getting a sear.
The better investment is having a hot enough fire to get the Maillard reaction to set versus worrying about the meat coming to room temperature.
Season meat in advance of cooking, not after. Seasoning the meat prior to cooking, especially with a kosher salt based rub, will provide more flavor because of dry brining. A good finishing salt can also be used to add more flavor, but be sure to season the meat prior to grilling.
This is not accurate. Using a two-zone cooking method allows the ability to move and flip the meat around so you can achieve the perfect finishing temperature of the steak and sear. This is why we prefer using long tongs.
Simply checking the temperature of the meat with a good meat thermometer is not going to make the steak any less juicy. The hole made is so small that no material amount of the juice will escape.
Yes. The reason you let a steak rest is to allow a few minutes for the cells which were just exposed to high heat and shrunk, to open back up and pull the juices back in. It also allows for carry over cooking. Give at least 10 minutes rest time, and for smaller cuts tent loosely with foil.
Essential Tools for Grilling
There are a few key tools that will dramatically improve your grilling experience. You can read more about our essential grilling tools from grilling to smoking for more details.
- Instant Read Thermometer -This is the number one investment we recommend, hands down. Being able to read the internal temperature of your meat ensures you will never overcook your meat. The best thermometer in the market is the Thermoworks MK4 Thermapen and we’ve cooked with it for years, including our years owning a catering company.
- Long Tongs – Long tongs give precision when moving meat around the grill as you manage the zones. They also prevent singing your arms over the direct heat.
- High Heat Gloves – These BBQ gloves modeled after welding gloves are great for moving hot pans and grates around. They make a nice addition to the toolbox.
- IR Thermometer – This is great for being able to take the temperature of the grill grates directly over the heat.
Cleaning and Care
If you are winding down your grilling season, it’s important to be sure all of your components both inside and out are clean, this prevents mold. Dispose of ash, and make sure there is not residual food particles on the grates or in the grill.
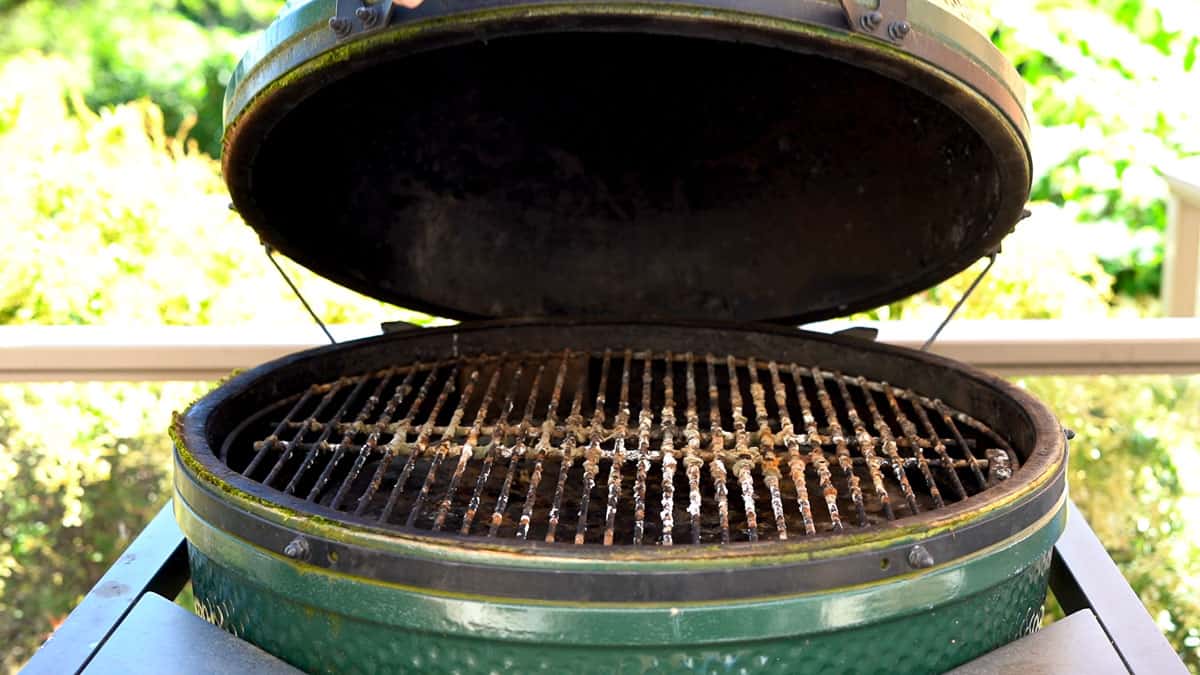
Do a high heat burn to help with any mold. And follow our top tops for winterizing your grill or smoker. Be sure any spent charcoal is removed.
Our Favorite Grilling Recipes
Seafood Recipes
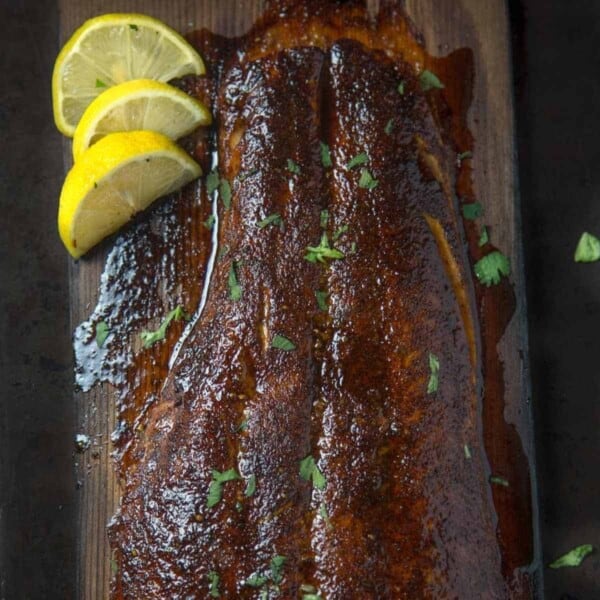
Cedar Plank Grilled Salmon with Maple Chipotle Glaze
Food Recipes
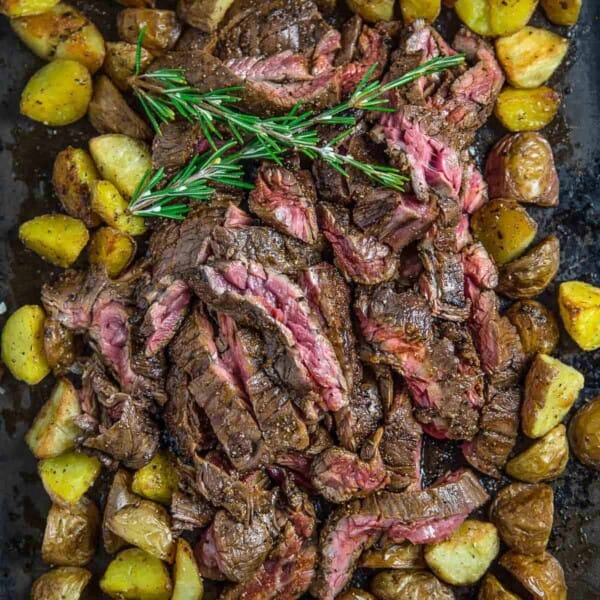
Grilled Skirt Steak with Red Wine Marinade
Best Beef Recipes
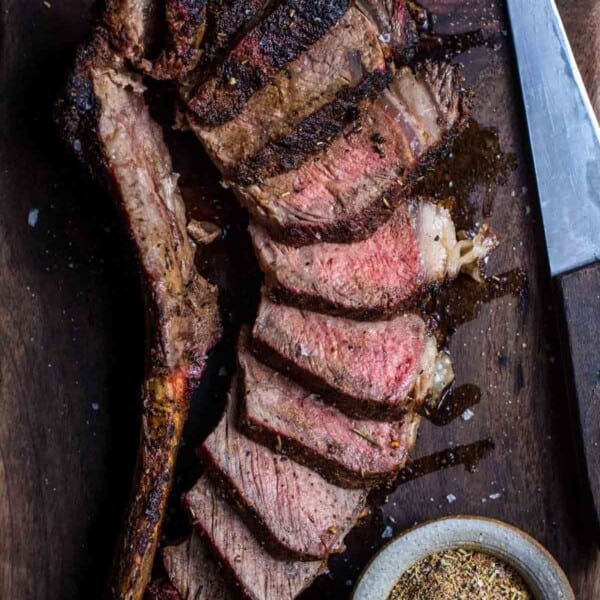
Perfectly Grilled Tomahawk Steak Recipe
Pork Recipes
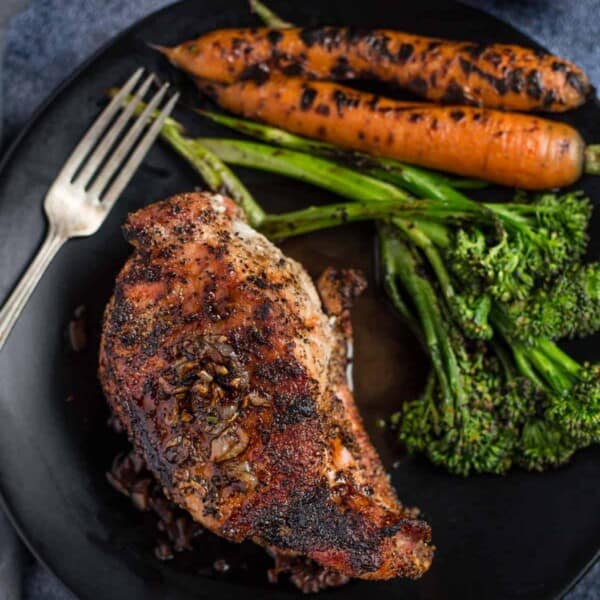
Grilled Pork Chops with Red Wine Pan Sauce

Get a signed copy of our cookbook! Order Now