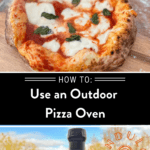
How To Use An Outdoor Pizza Oven
Dec 13, 2022, Updated Mar 12, 2025
This post may contain affiliate links. Read more at our disclosure policy.
If your pizza oven is still in the box because you’re unsure how to use it, then let’s walk through how to use an outdoor pizza oven. Get inspired to fire up the pizza oven and wow your friends with restaurant-quality pizza. Follow this guide for the perfect outdoor pizza, from pizza tools needed to tried and true pizza recipes. Once you develop your system, you’ll be making pizzas every Friday. Don’t forget to check out our pizza oven tips, answering the most common FAQ.
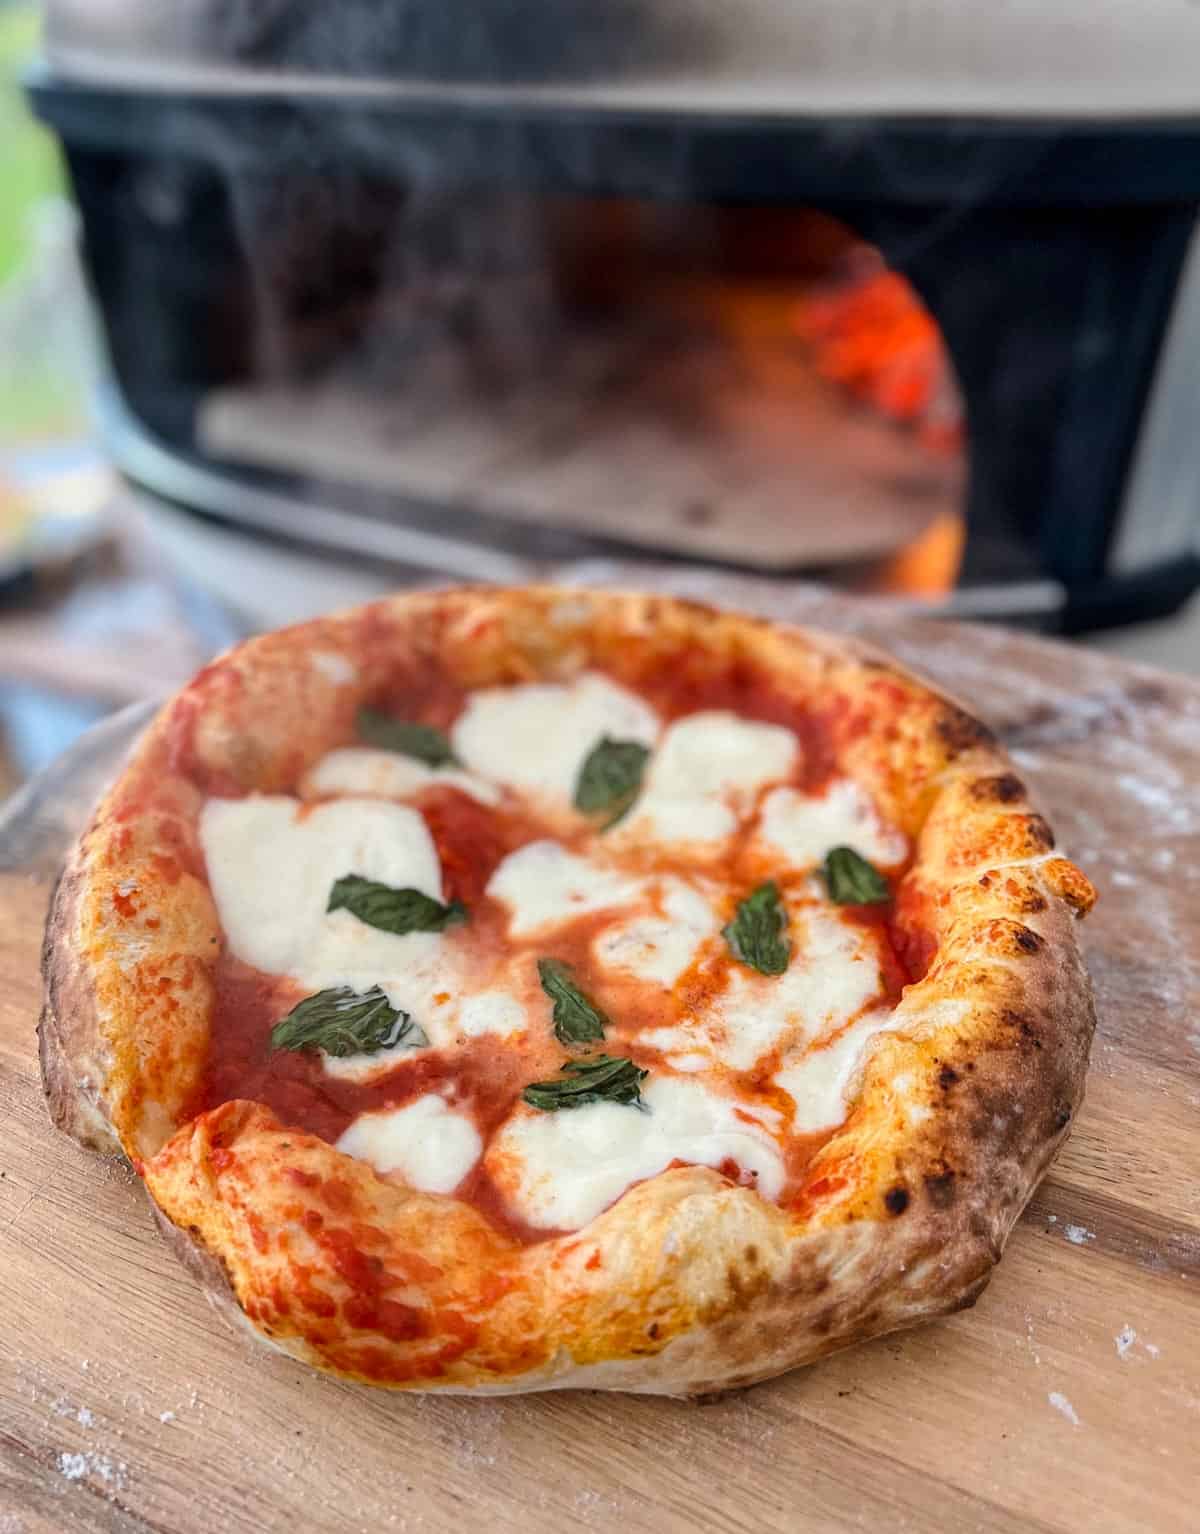
Table of Contents
- Article Highlights
- Pizza Oven Styles
- Pizza Oven Tools
- How Pizza Ovens Work
- Wood versus Propane (or Natural Gas)
- Preheating The Pizza Oven
- Ingredients
- Pizza Preparation – The Dough
- Don’t Overdo the Toppings
- The Launch
- Rotate
- The Retrieval
- Managing Pizza Oven Heat
- Caring for the Pizza Oven
- Outdoor Pizza Oven Recipes
Article Highlights
- Make it easy for yourself and start with learning the fire management. Then add homemade dough, sauce, and ingredients.
- Proper preparation of the ingredients and the right pizza dough recipe help with the perfect outdoor pizza pie.
- Turning your pizza at the right oven temperature allows the pizza to cook evenly.
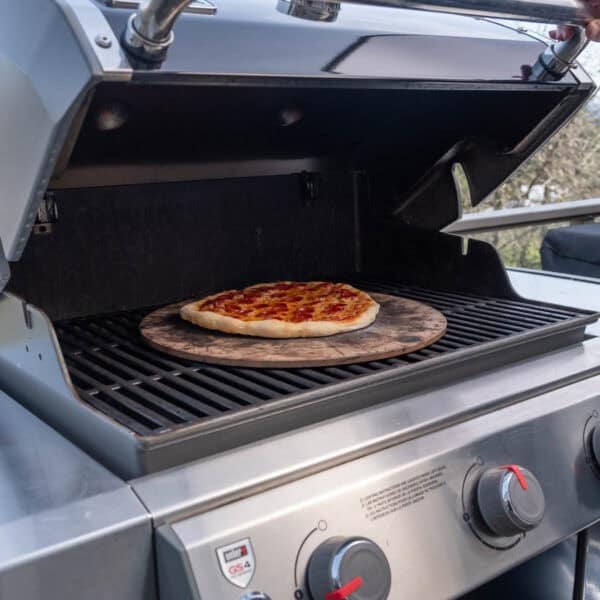
- If you are looking to grill pizza outdoors (on your grill or smoker) then follow our guide on grilled pizza in a Big Green Egg or Pellet Grill Pizza.
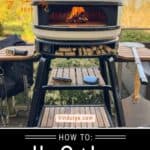
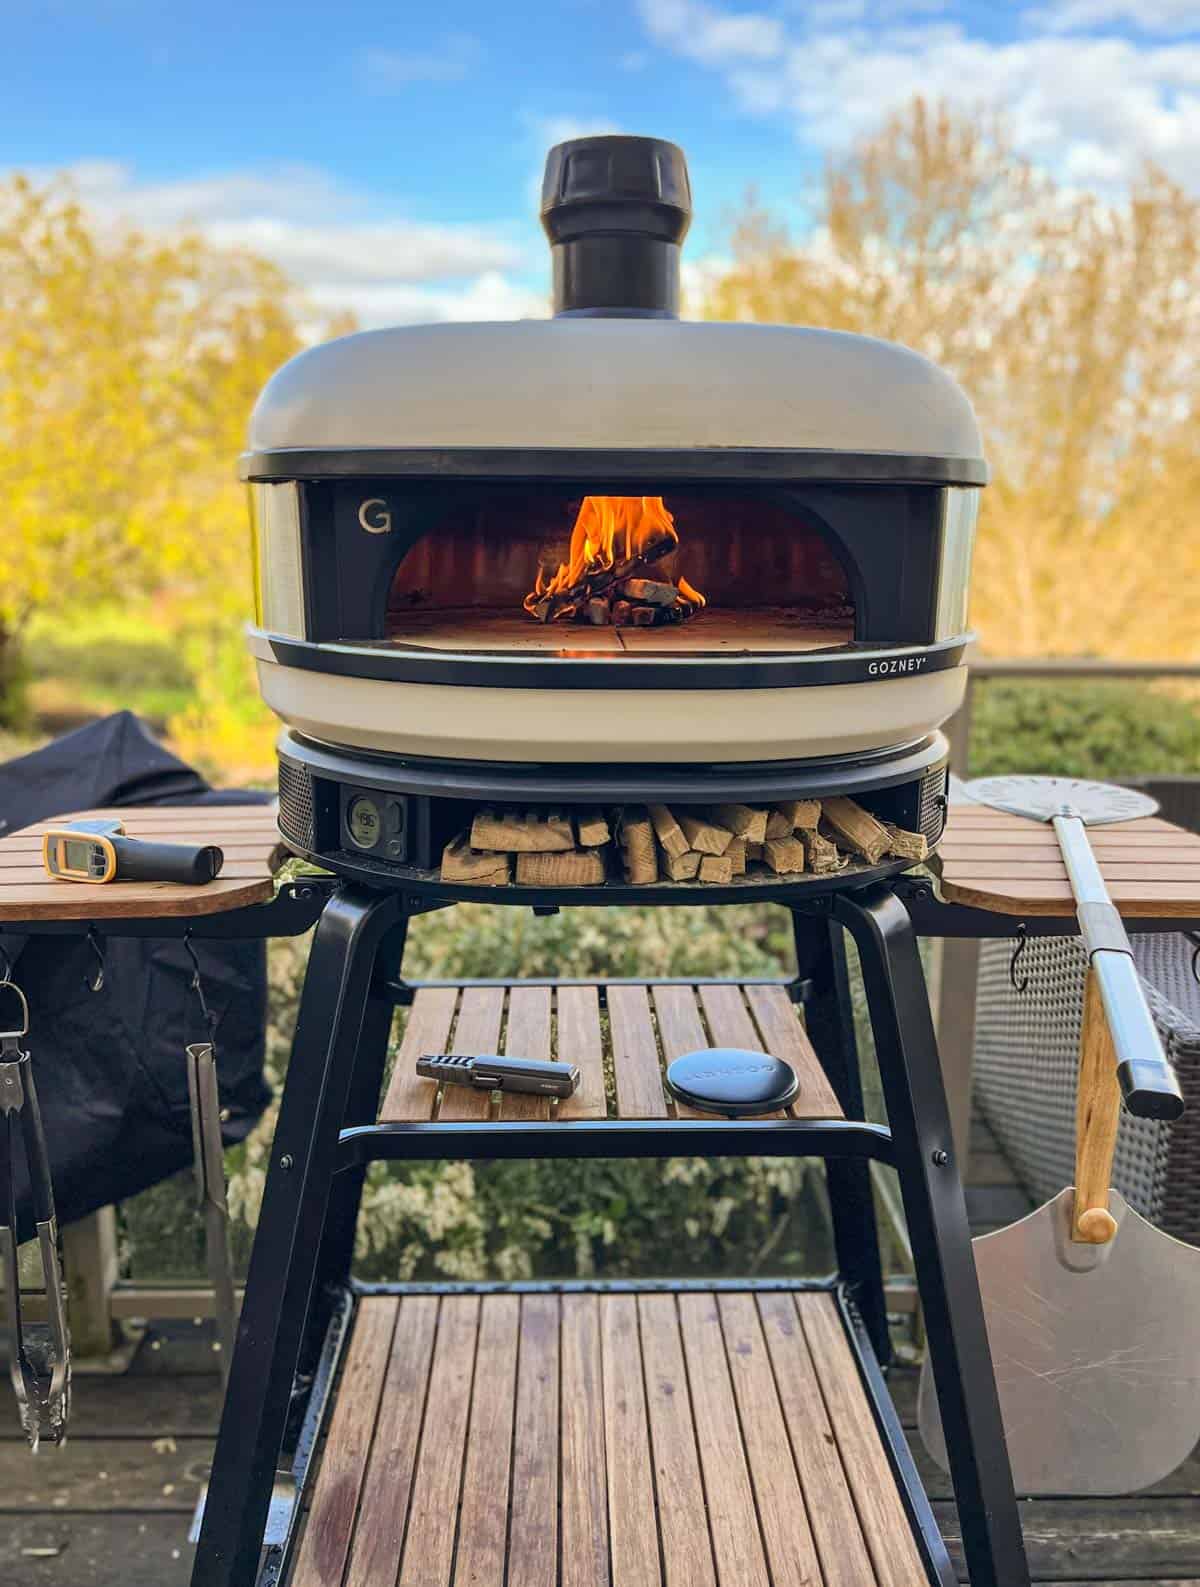
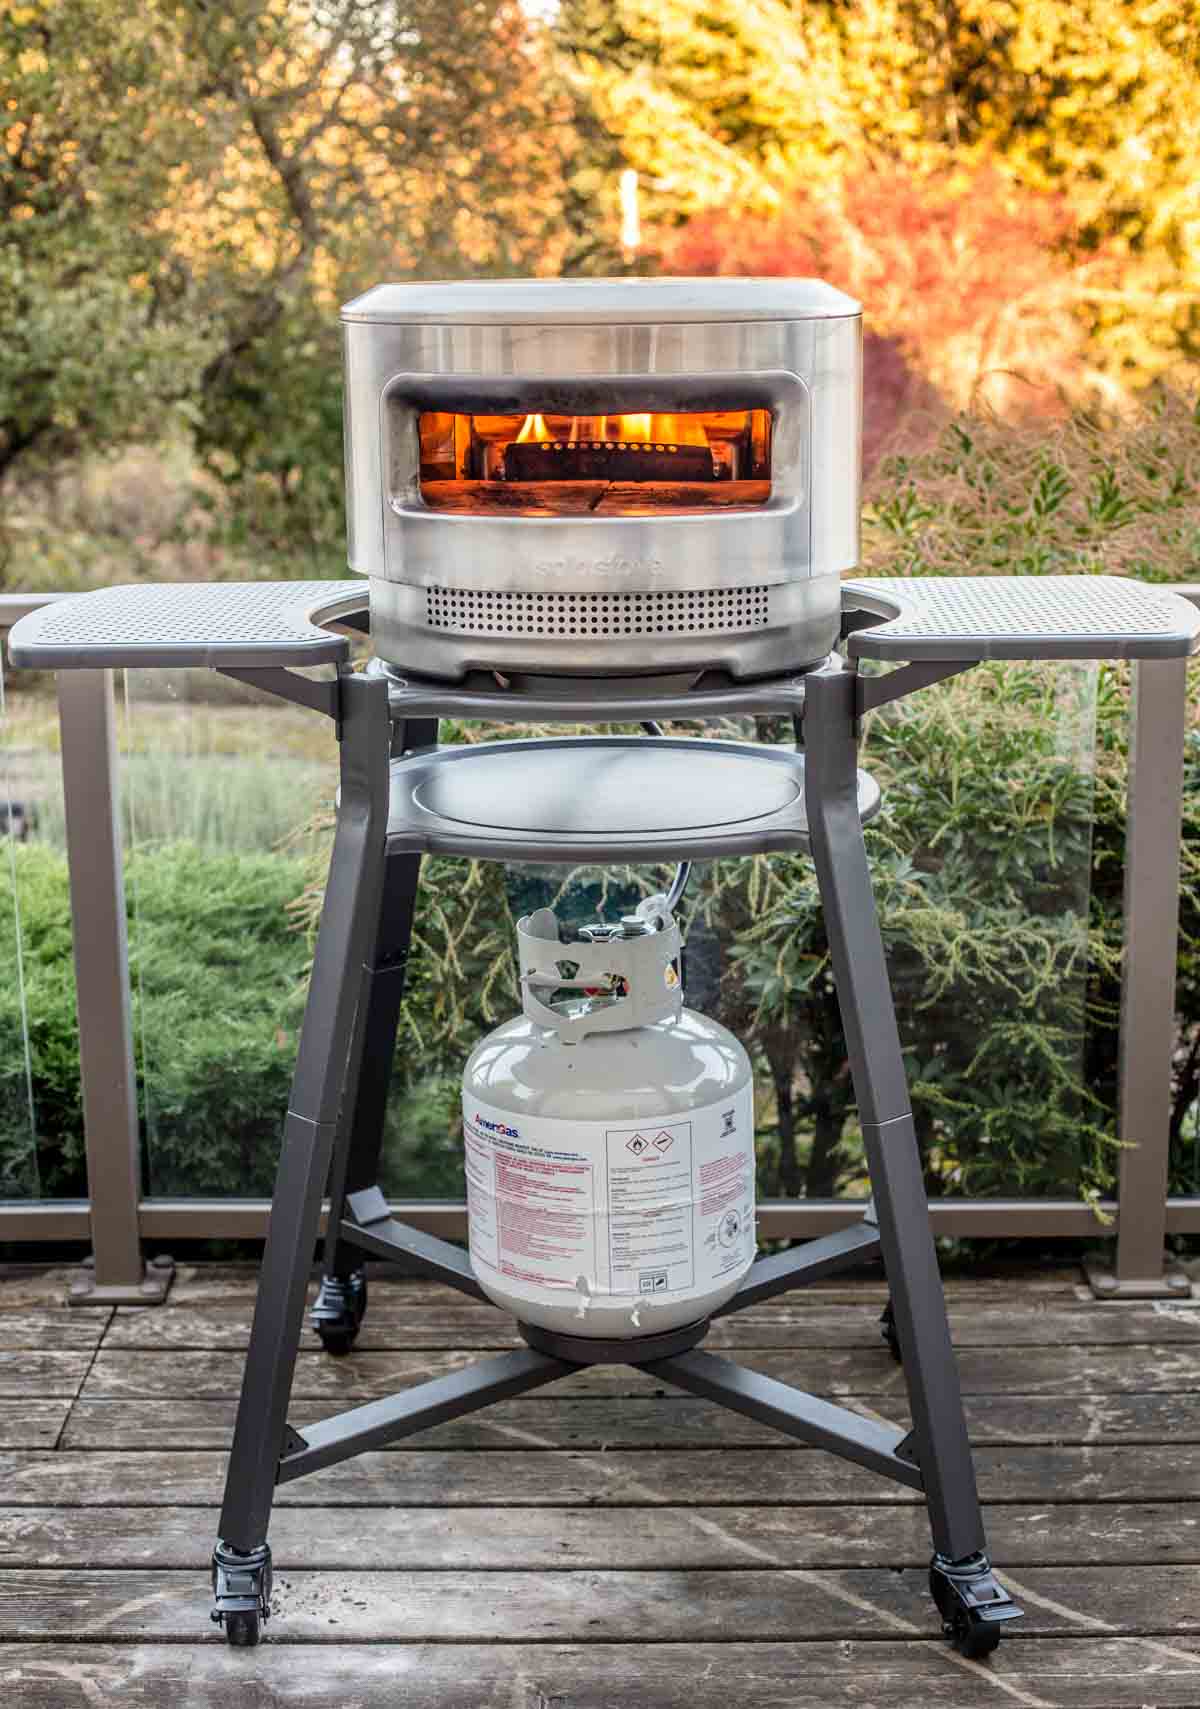
Pizza Oven Styles
Whether you have a Gozney Dome, Solo Stove Pi Prime, or an Alfa Forni Moderno outdoor pizza oven this guide walks through the basics of how to set it up and get restaurant quality pizza on the most popular pizza ovens out there.
These outdoor pizza ovens are becoming more affordable and more common throughout the country. But sometimes we hear from folks that they bought one, or was gifted one, but have left it in the box because they’re unsure how to get started with it and how to use it. We’re here to help!
Pizza Oven Tools
There are some absolute tools you must have if you plan to use your outdoor pizza oven so you can measure the heat of the pizza stone and make sure that you can rotate it through the cooking process.

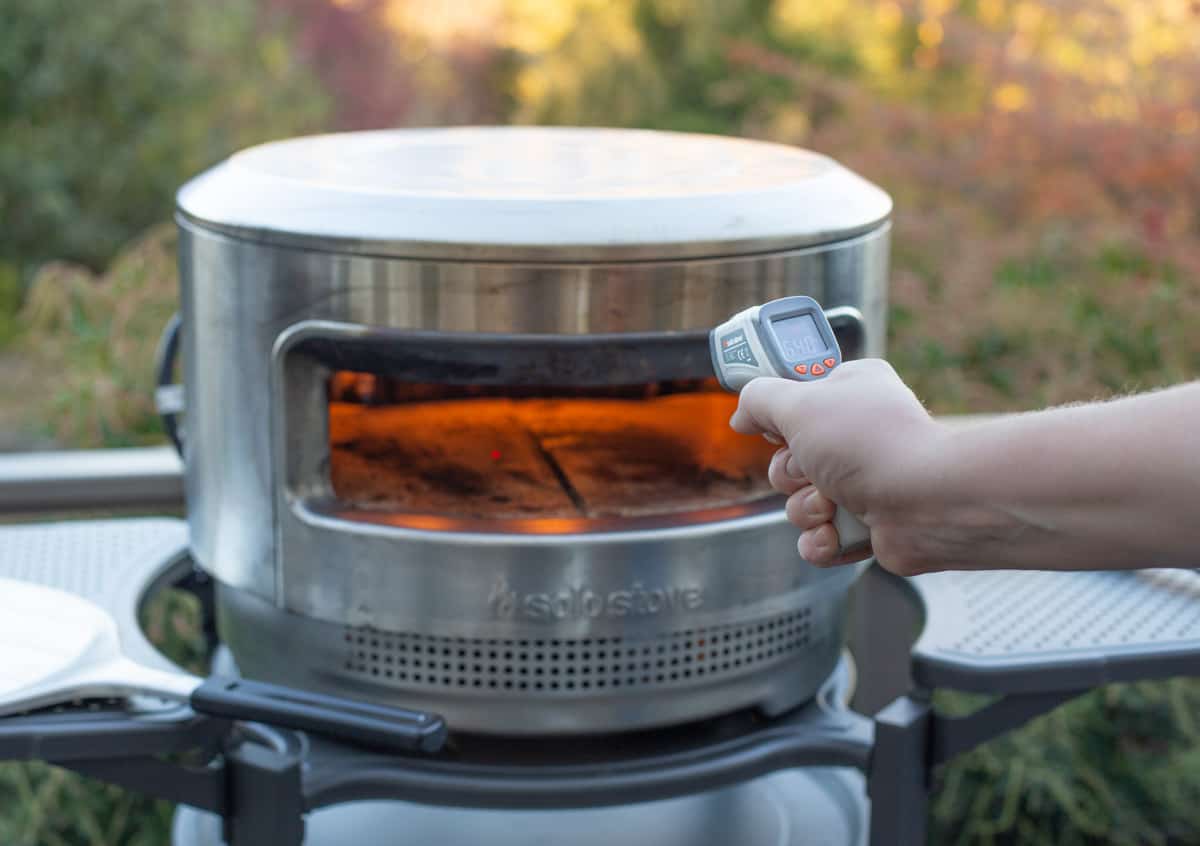
- IR Thermometer – Besides a great pizza dough, the second most important factor in a good pizza is making sure the pizza stone is at the right temperature (versus the ambient heat of the oven). The Thermoworks IR Thermometer is one of the best in the market.
- Wooden Pizza Peel – A good wooden pizza peel stays cool and makes it much easier to slide the prepared pizza into the oven. Metal will warm up and make it sticky, especially after cooking multiple pizzas in a row. Consider two peels so you can always be preparing the next pizza.
- Pizza Turning Peel – After the pizza is launched onto the stone you need to rotate it. The turning peel is a smaller diameter than a traditional pizza peel making it easy to rotate the pizza in small turns.
You can see a full list of our tools in our essential pizza tools guide.
How Pizza Ovens Work
No matter the brand or style of pizza oven, it works using a convection method of heat. This airflow that causes the heat to roll throughout the pizza oven keeps the stone at the ideal temperature. But when making the perfect pizzas you need to understand a few principles that create balance when cooking the dough and the toppings.
- Pizza Stone – Having the pizza stone at the correct temperature is what cooks the dough and base of the pizza. In order to make sure the stone is at the correct temperature you have to have the right heat/flame source and enough time warming up.
- Pizza Flame – The flame not only creates the heat for the stone but it also is an important part of cooking the crust and the top of the pizza using the pizza oven dome. You’ll often hear the reference of “leopard print crust”, which comes from a good pizza dough with a continuous flame while the pizza is cooking. You want a strong flame that is cascading across the top of the oven dome.
- The Oven Dome – The Dome of a pizza oven is shaped to radiate heat and allow the flames to cascade over the top of the pizza. This flame helps cook the top of the pizza while the stone cooks the bottom.
If it is raining or very cold (under 38 degrees Fahrenheit) it will take longer to preheat the stone and cook the pizzas.
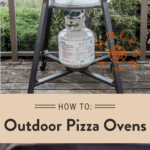
Wood versus Propane (or Natural Gas)
If you are in the market for a pizza oven be sure to spend the extra money for a dual fuel option. Having the option to use propane or wood is great especially if making pizza for a crowd.
Propane is as easy as igniting and turning on the heat then adjusting the rate of flow and the flame. The higher the flame the hotter the pizza stone will become.
When using wood the warm up process takes longer, however the wood embers that burn down and cook the pizza make for a more even cooking experience. Be sure you have adequate pizza split wood. Typically it’s in small 6-inch long cuts or up to 10-inches for larger ovens.
Use a tumbleweed starter and stack the dry wood splits over them and then light it up. It will ignite quickly. Continue to feed lots of wood splits to get the embers HOT. The embers are the heat source that warms the pizza stone. The flame is what cascades on the roof and cooks the top of the pizza.
Preheating The Pizza Oven
The very first time you use your pizza oven you need to temper the pizza stone and burn off any chemicals or packing material, even if the manufacturer does not mention this. This is also a great time to learn how to use the starter and fuel source.
Ignite your fuel source and start at an oven temperature of 400 degrees Fahrenheit. After 20 minutes raise the temperature to 700 degrees Fahrenheit and continue for 20 minutes. Finally crank the heat up to high or 900 – 1000 degrees and allow to burn for an additional 20 minutes.
After the one hour you can make your first pizza or let the oven cool and cover for your next time you cook.
Ingredients
You will often here of mise en place which means ingredients in place. And that is important when making pizza. Before doing anything, write down the pizzas you want to make and have the pizza stations set up. This allows you to focus on making the pizza and not scrambling for other ingredients.
- Sauces – Be sure your sauces are all made already and in a bowl. Plan 1/4 cup of sauce per pizza.
- Cheese – Be sure cheese is pre-shredded and fresh mozzarella is drained of excess moisture.
- Toppings – Be sure any cooked toppings like sausage, caramelized onions, or wild mushrooms are pre-cooked. Be sure basil or other additional toppings are pre cut as well.
- Finishing Flavor – It’s great to have finishing salt or fresh herbs like oregano all ready to add when the pizza is done.
- Flour – Have extra flour out so you can dust the pizza stone. If using gluten free dough then have a separate station and peel dedicated to your gluten free guests.
Pizza Preparation – The Dough
We love to make our own pizza dough because we can adjust the pizza dough to the style of pizza we want from a high heat Neapolitan Style Pizza to a NY Style pizza.
But when first starting out the heat is the more important thing to master. So we recommend buying a store bough dough for your first few pizzas and after you feel comfortable with the technique of baking the pizzas in the oven then make your own dough.
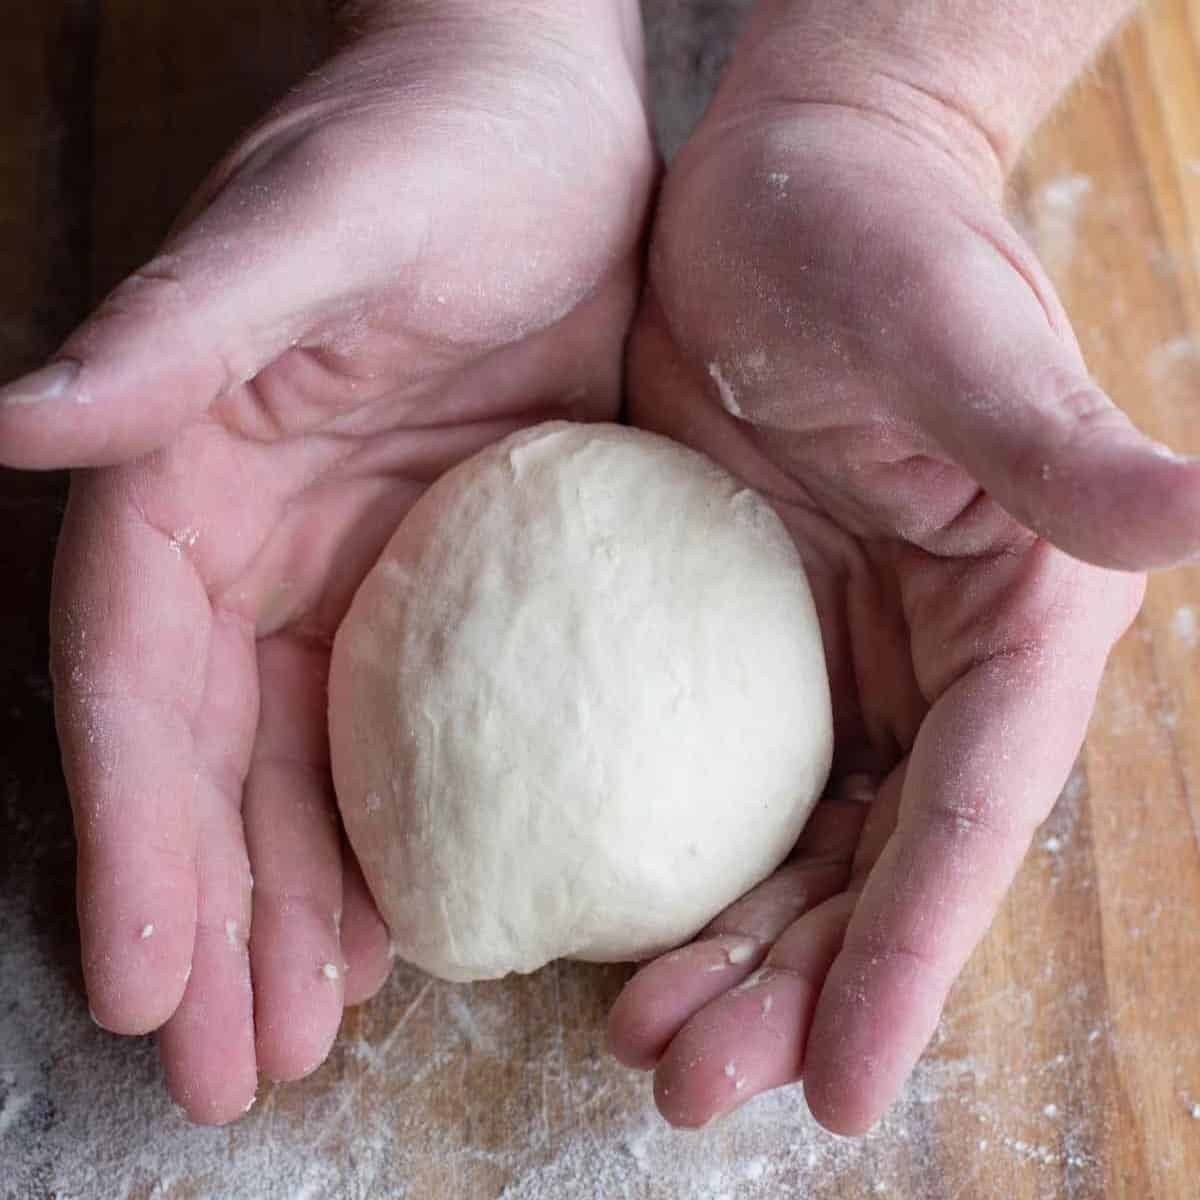
When using dough be sure it’s not too wet. And be sure the dough is at room temperature when you are making the pizzas so it’s easy to form. Cold dough is hard to work with and will often spring back to the smaller dough form.
- Place a generous amount of flour on your wood pizza peel. Then using your hands slowly press from the center of the dough outward to shape the dough into a 11 to 13 inch width. Rotate the dough on the pizza peel as you press down and push out so it’s even.
- When the pizza is at the desired width, gently lift up each side of the pizza dough and apply more flour. Pick up the pizza peel and gently shake it to make sure the pizza dough slides easily. If it doesn’t, add more flour.
The pizza dough is now ready for your toppings.
Would you like to save this?
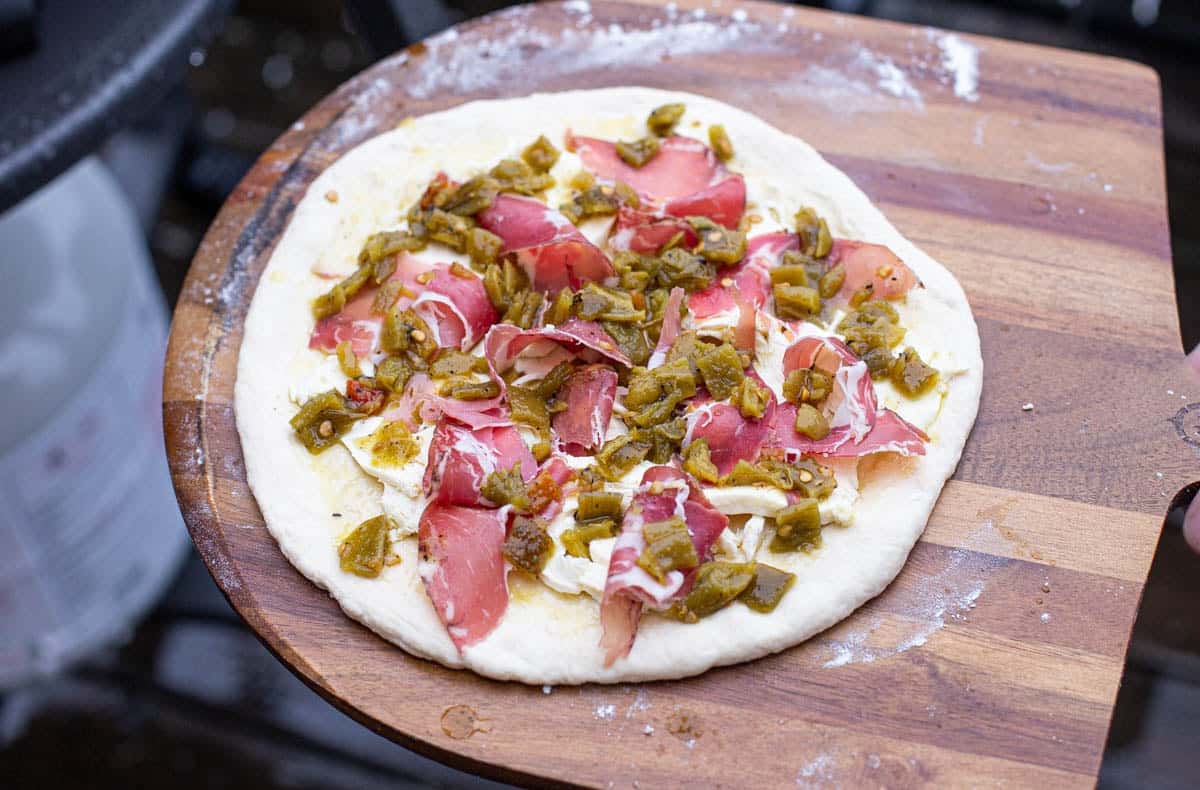
Don’t Overdo the Toppings
- Start with your pizza sauce. Whether a red pizza sauce, white pizza sauce, or even a garlic oil, start with the sauce and layer the remaining ingredients over the top.
- We next like to add the cheese. If using fresh mozzarella be sure it’s been drained and pulled (or ripped) into smaller pieces. If you don’t drain/dry the mozzarella the liquid runs off onto the dough making it wet.
- Finally add your remaining ingredients and shake the pizza peel again. The pizza should still easily slide on the wooden pizza peel. If it does not, add more flour after gently lifting up on the dough.
If your pizza is overloaded with toppings or too wet from too much sauce it won’t launch and you are likely committed to making a calzone. So the two important tips is to keep the toppings simple and to make sure you don’t use too much pizza sauce.
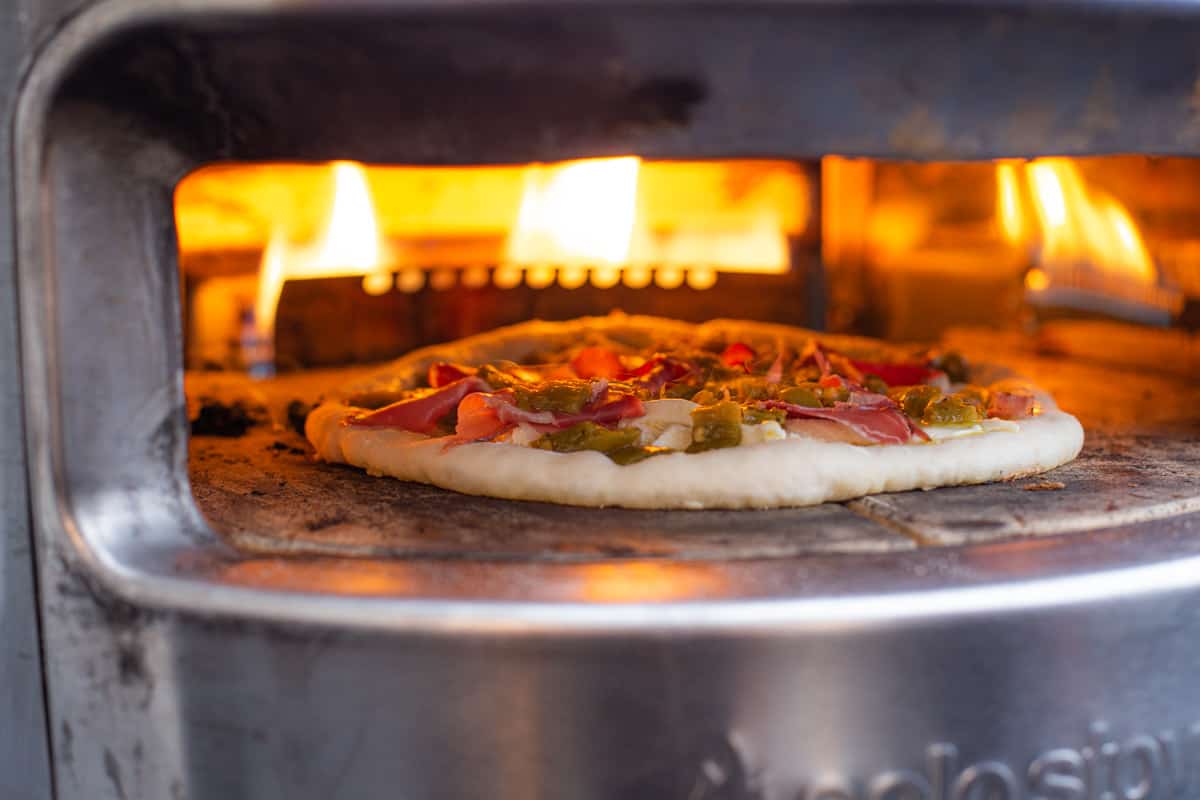
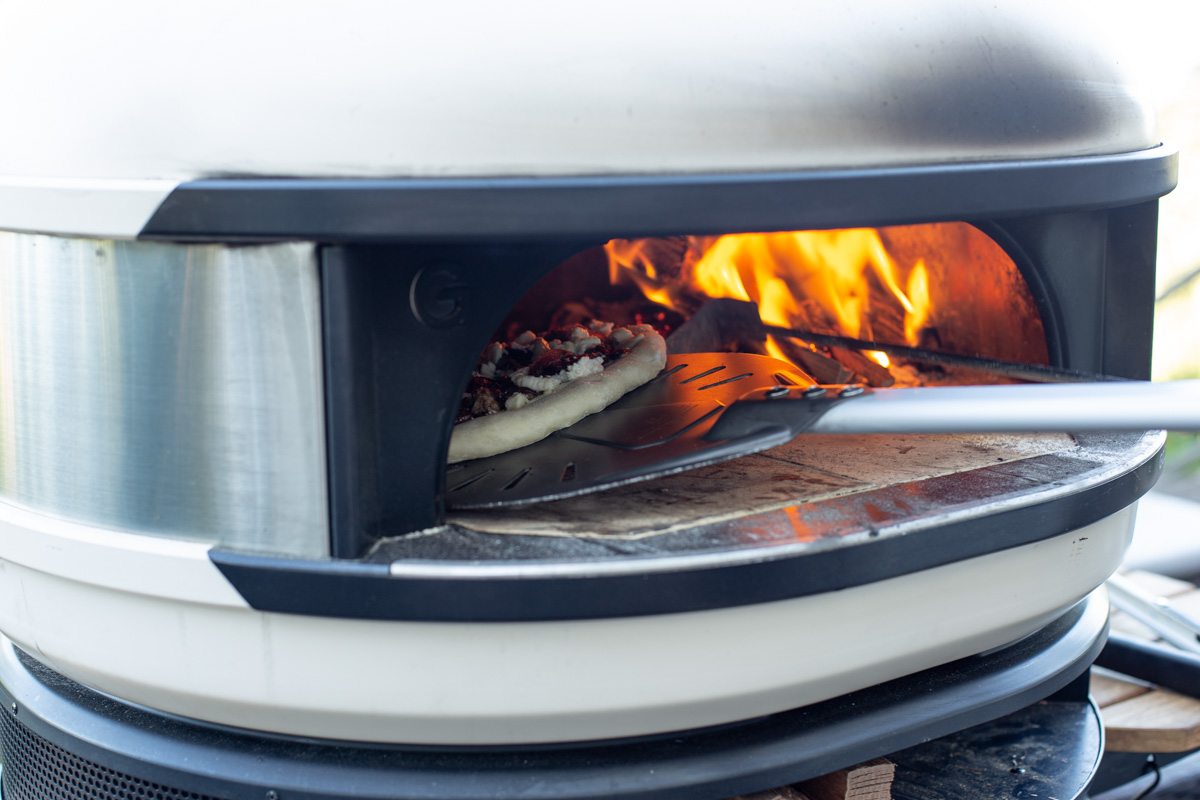
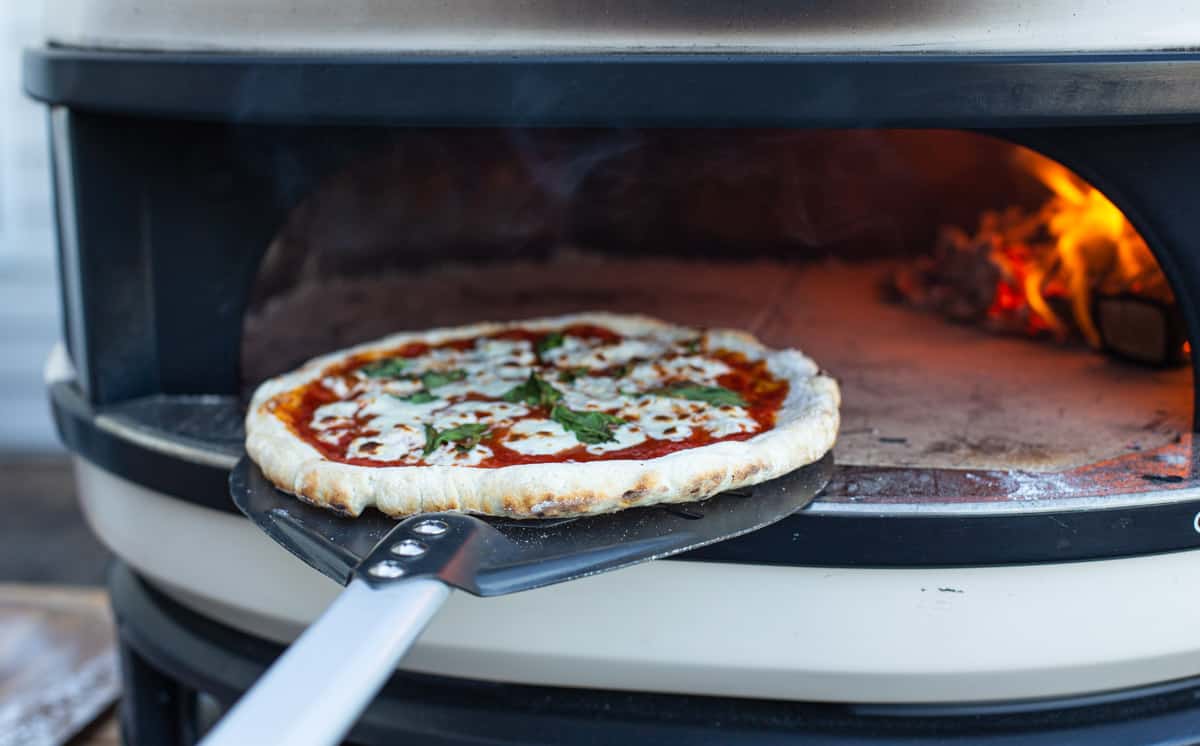
The Launch
It’s now time to make the pizza. The reason we have continuously shaken the pizza while on the wooden peel is to make sure it easily slides off the pizza peel and onto the pizza stone.
Get the pizza peel as close to the stone as possible. Pull back on the peel and then in ONE FORWARD MOTION push the peel forward to create momentum and get the pizza off the peel and all the way onto the stone near the flame. You want to use enough force so that the pizza completely slides off the peel and onto the center of the stone in one push. Avoid the pizza crust from touching any metal that may protect the flame.
Troubleshooting: If the pizza does not launch right onto the center of the stone wait 20 seconds so the base of the pizza can cook slightly. Then use your turning peel to push the pizza into the center of the oven and close to the flame. Then begin to monitor and rotate the pizza. This is why we want a pizza that is not too wet as that is the most common reason why the pizza won’t slide onto the stone.
For Wood Users: If you are using wood you have the stone at the right temperature. Be sure to add a wood split onto your embers a minute before launching the pizza. The wood will ignite and have the flame going while the pizza is cooking which is how the top and bottom cook evenly.
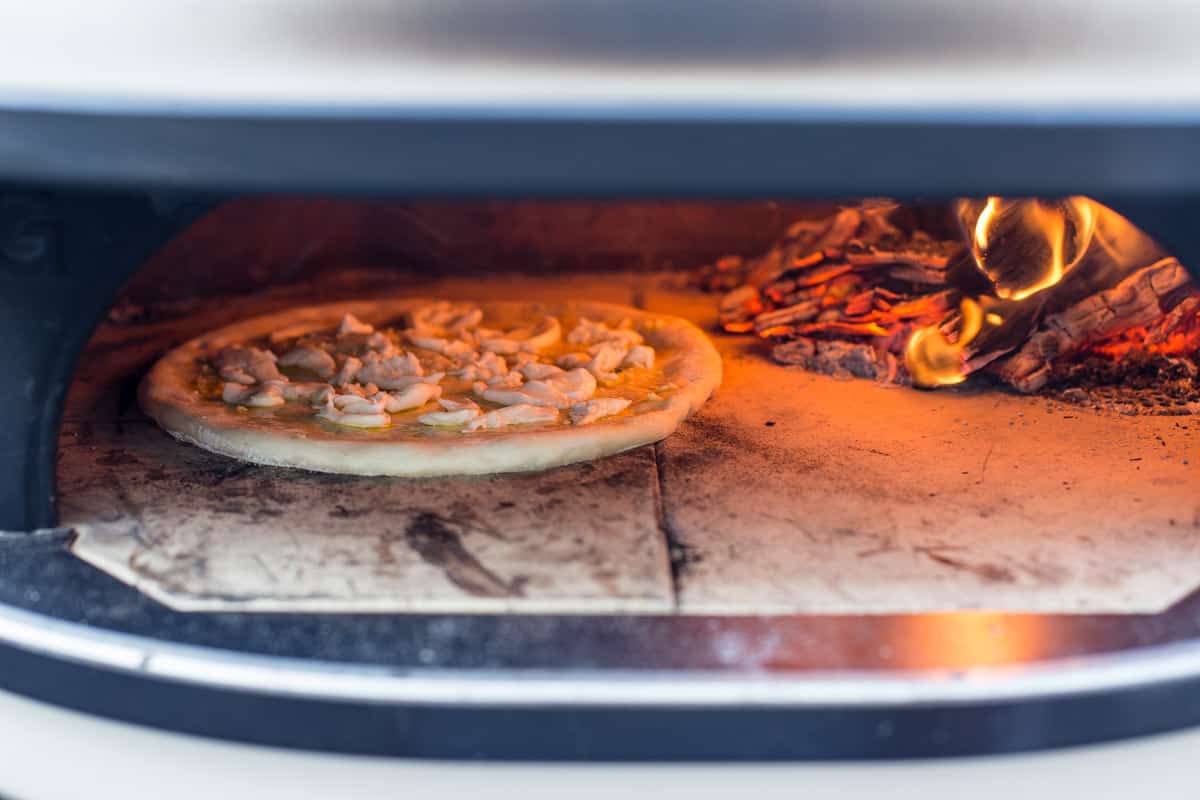
Rotate
The flame is going and you launched the pizza successfully. It’s now time to grab the turning peel. Every 10 seconds you will rotate the pizza a few degrees until you have rotated it a full 360 degrees, especially if the flame is running at 800 – 1000 degrees F.
Turning/rotating the pizza allows each portion of the pizza crust to cook evenly. If you leave the pizza alone one side will blacken while the other side is undercooked. So rotating the pizza helps with an even cook.
After turning the pizza 360 degrees it should be cooked. If the bottom is not looking cooked through then continue to rotate until it is.
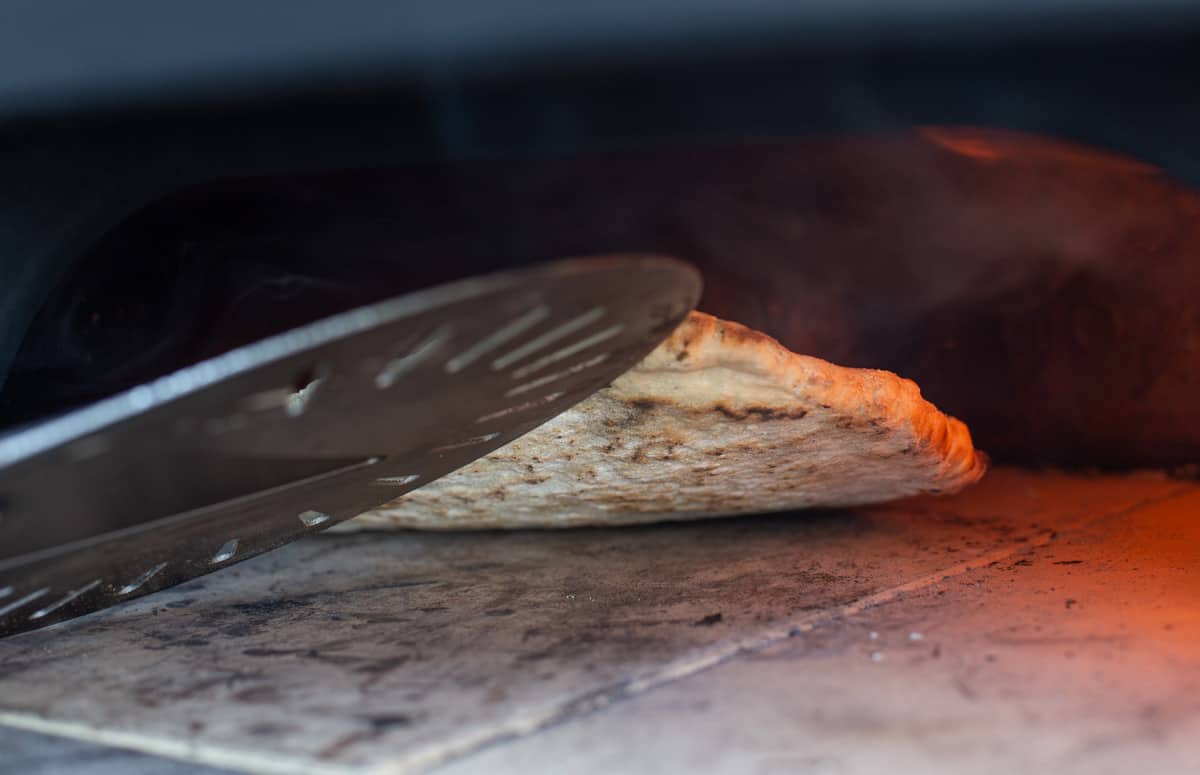
If your toppings are not cooked through but the base and sides of the pizza are, use the turning peel to lift the pizza off the stone and get it close to the dome top (while note touching the flame) to cook for a few seconds. This will quickly broil the top and avoid overcooking the base of the pizza.
The Retrieval
Now that the pizza is done, remove the pizza with your pizza peel and transfer it to a cutting board. Add any remaining toppings like finishing salt or fresh greens and then slice it.
If starting a new pizza then be sure the pizza stone is heated back up to the right temperature before launching and repeating the process. And be sure you don’t make the next pizza until the stone is ready otherwise the next pizza dough will be too wet and won’t launch.
Chef’s Tip: DO NOT CUT THE PIZZA on the wooden pizza peel. This will create bumps or grooves, which over time will make it hard to launch pizzas in the future. So be sure to slice your pizza on a cutting board.
Managing Pizza Oven Heat
Prior to the next pizza us an ash tool or pizza oven scraper to remove any cheese or toppings that may have gotten on the stone.
If making multiple pizzas then it’s best to have two pizza peels. One to launch and return to the person making the pizza and one for retrieving the finished pizza. This makes it much faster to get pizzas served.
Be sure to use your IR Thermometer to make sure the stone has recovered enough heat for the next pizza. The first pizza always absorbs more heat and as you cook more pizza the stone tends to not lose as much heat.
Adjust your flame level or amount of wood as needed.
Caring for the Pizza Oven
Let the oven cool before covering. We recommend a good cover for your pizza oven to avoid the stone from getting rained on. Moisture in the stone over long periods of time will create cracks. This is especially important in the Pacific Northwest, where we live.
To clean you can use simple orange degreaser/cleaner to wipe off the soot and creosote that is likely to form around the outer area. Do this after the oven has cooled and before covering.
If using wood, discard of ash after 24 hours into a proper ash disposal receptacle.
If the pizza stone is dirty then gently scrape it off with a brush or scarping tool designed for pizza ovens. The next time you preheat the oven any remaining things on the stone will burn off.
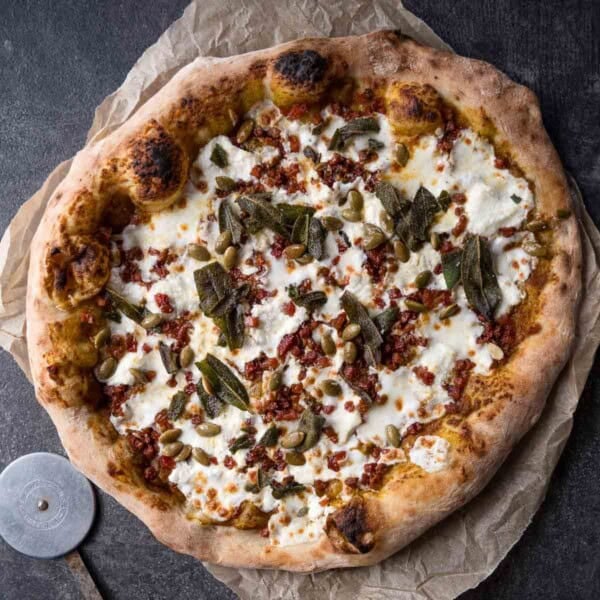
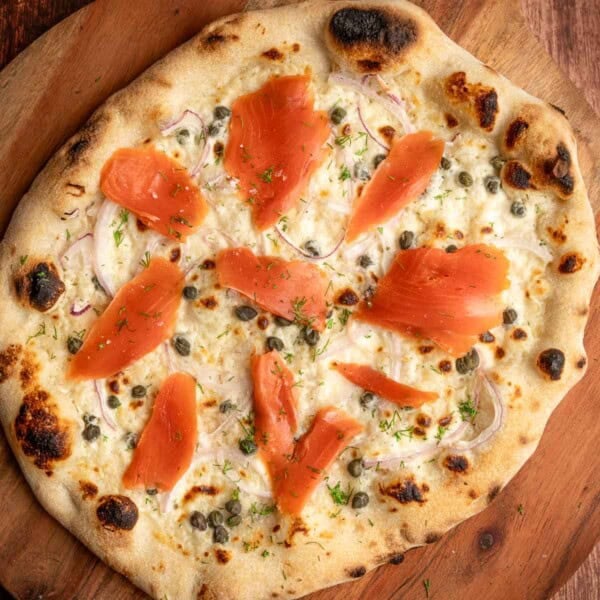
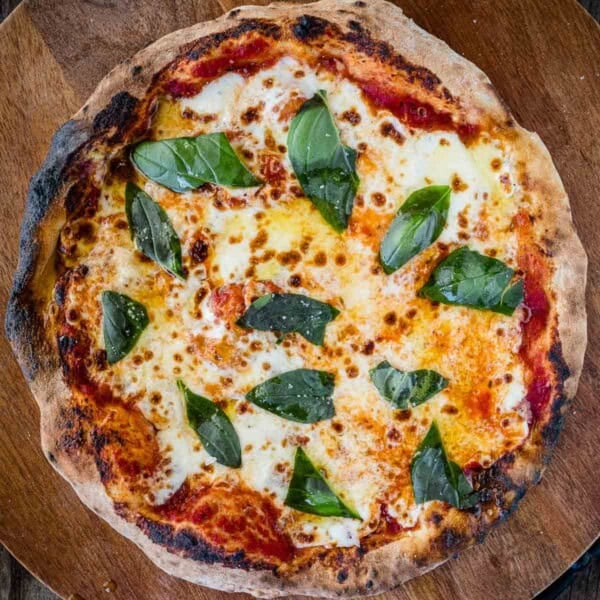
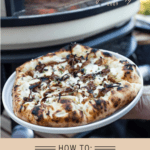
Outdoor Pizza Oven Recipes
Learn how to cook steaks in a pizza oven or Garlic Knots recipe using leftover pizza dough. Or browse some of our favorite recipes below.

- Classic Margherita Pizza Recipe
- Wild Mushroom White Pizza
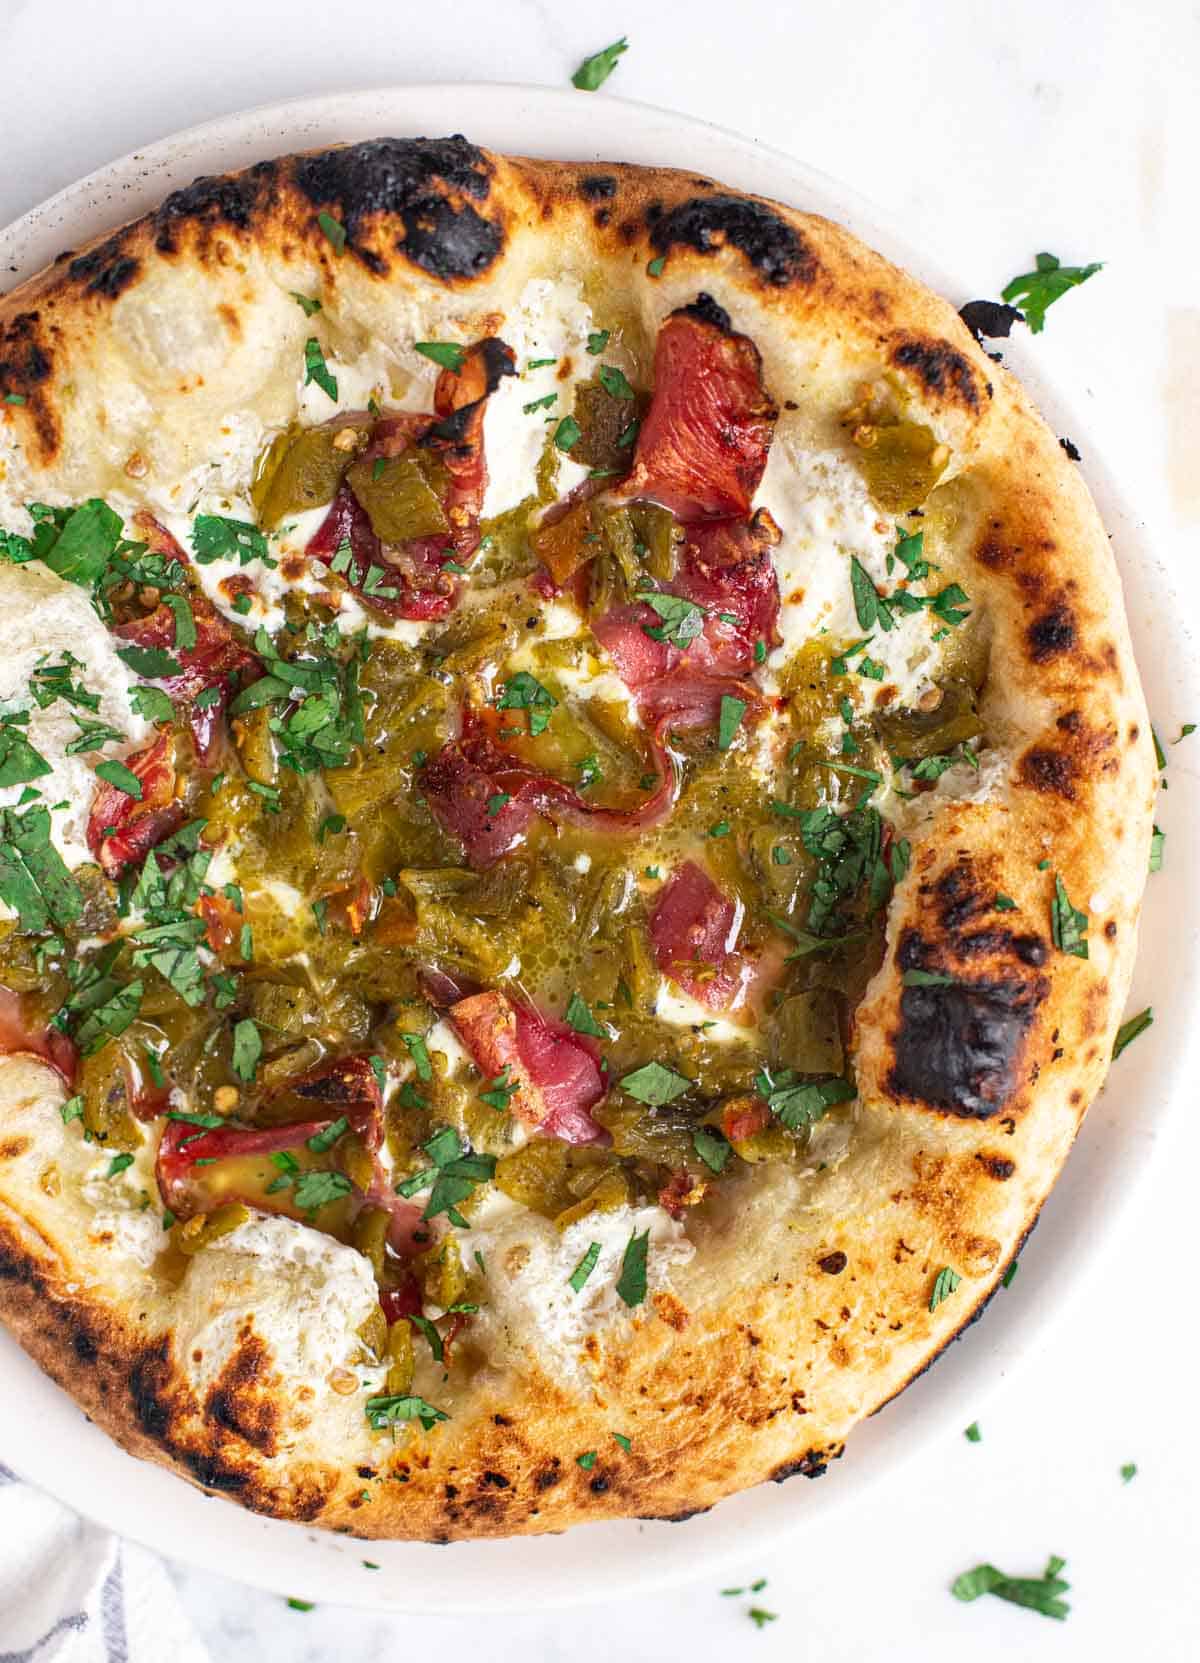
- Coppa and Salumi Pizza
- Green Chile Pizza with Chorizo
- Buffalo Chicken Pizza
Tried this recipe? Give us a star rating and we would love to see! Mention @vindulge or use the hashtag #vindulge on all the social media handles. And consider subscribing to our newsletter where we drop all our favorite ideas and inspirations weekly.