Top Tips For Winterizing Your Grill or Smoker
Nov 28, 2023, Updated Sep 13, 2024
This post may contain affiliate links. Read more at our disclosure policy.
For many winter might be a time to abandon your grill or smoker for the cozy warmth of indoor cooking. But for the true barbecue pitmaster, this season offers its own smoky pleasures. That said, if you do plan on taking a break from your grill, it’s crucial to properly winterize your outdoor cooking equipment to ensure its longevity and performance. We bring you our top tips for winterizing your grill or smoker, no matter what type you have.
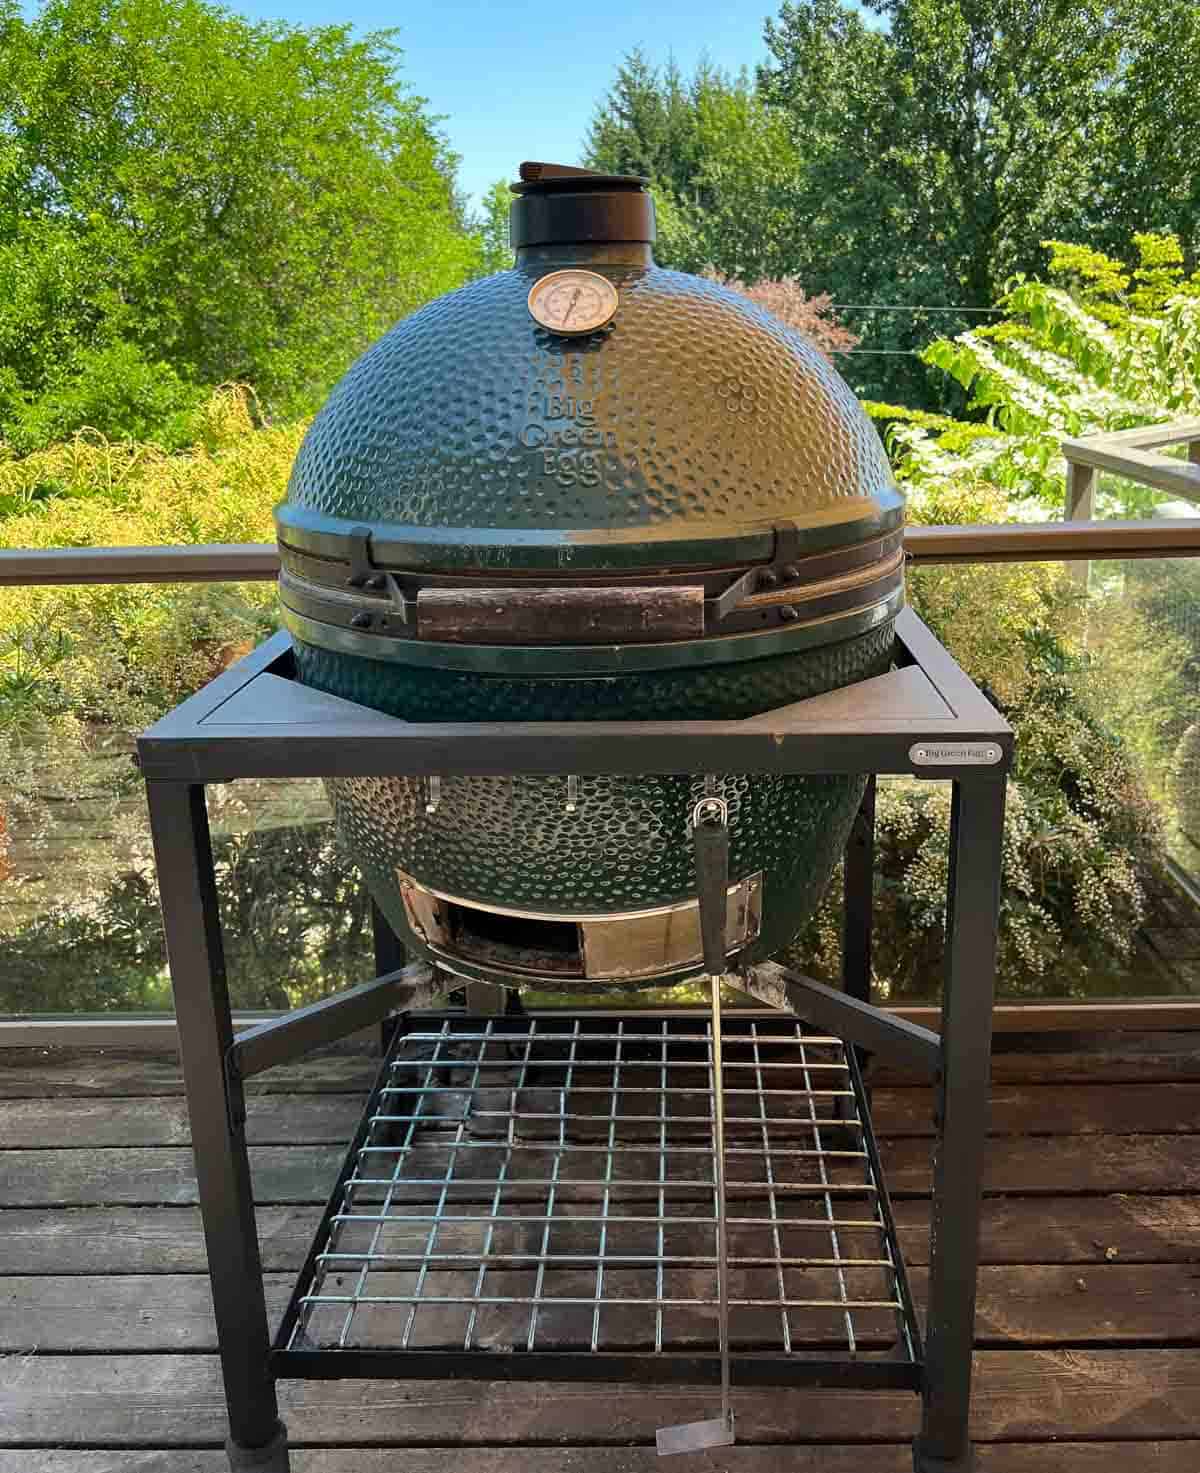
Table of Contents
When it comes to winterizing your grill or smoker (i.e. preparing it for cold weather) it’s all about getting it clean and dry so that it’s ready to go the next time you fire it up. Prolonged periods of no use (for many that’s 2 or more months) promotes rust, mildew, mold, and other not so pleasant experiences.
These steps work for any grill or smoker from your kettle grill to your largest offset smokers.
Key Goals
- Eliminate Food Residue: Any residual food or grease left in your grill or smoker will cause mildew and mold, creating harmful bacteria. It can reside on the grill grates, walls, and various interior areas of any grill or smoker.
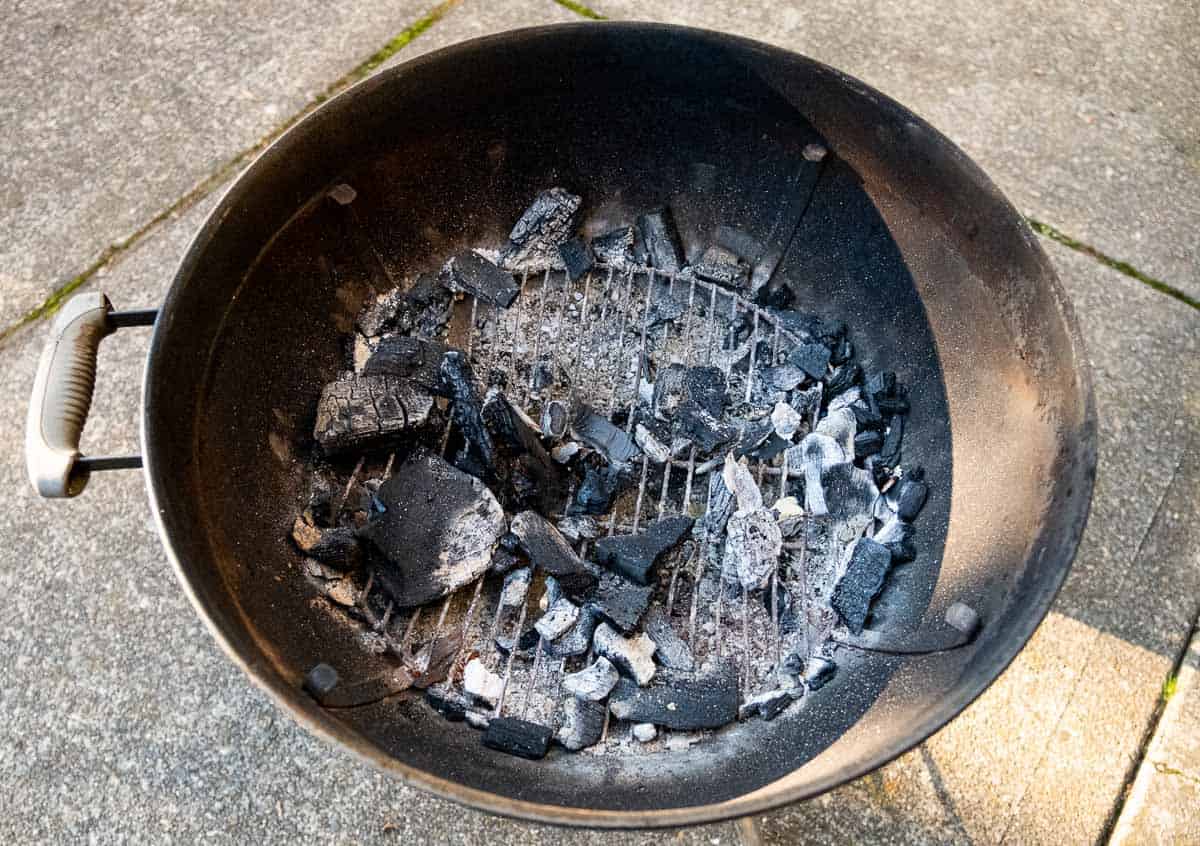
- Discard Ash and Charcoal: Excess charcoal, ash, and grease will retain moisture and higher humidity levels. This leads to rust, mildew, mold, and the decay of some electronic wiring.
- Weather Destroys: If you leave the grill out in the elements there is a greater chance you can see more wear and tear issues like rust in bolts, or grill grates corroding.
- Regular Maintenance is Important: Taking time to regularly clean your grill, repair blemishes, and check out key working elements will mean your investment will last a lifetime.
Step One: Clean Thoroughly
Before you put your grill or smoker to rest for the winter, give it a thorough cleaning, both inside and outside. This prevents mold growth and rust. Clean first with a high heat burn and then clean the exterior.
- High Heat Burn: Start with a high heat burn and then brush off any remaining food particles using a grill brush after grill or smoker cools. You should do this with any grill, from pellet grills to Big Green Eggs. A high heat burn is any grill temp at or near 400 degrees for an hour. This will burn off grease, creosote, and food particles making it much easier to clean.
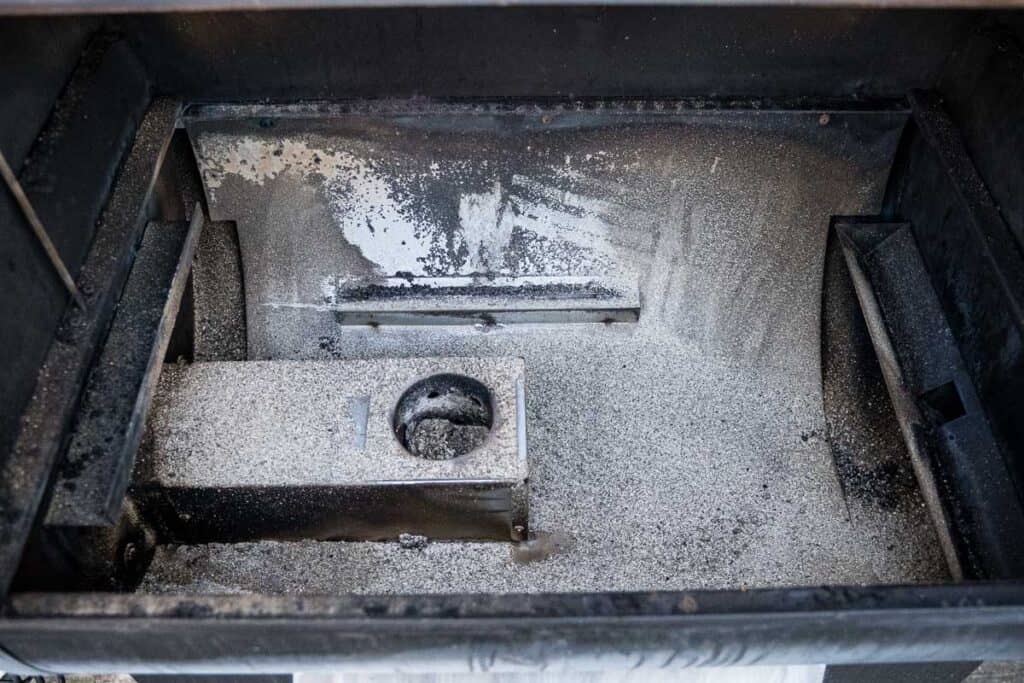
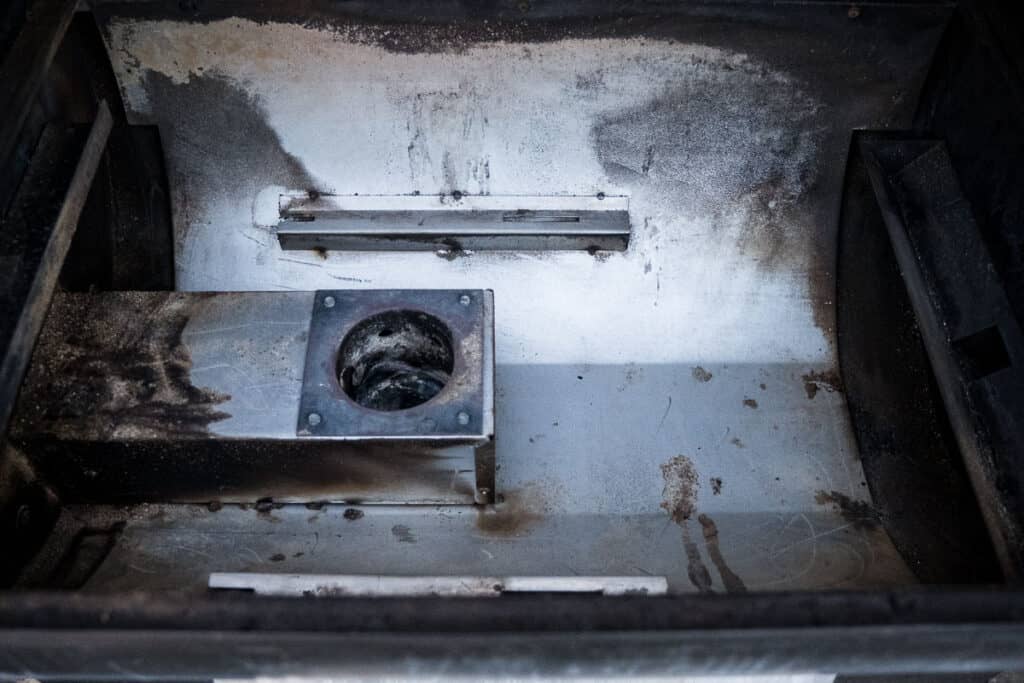
- Interior: After smoker cools – remove all your interior parts and remove ash, grease, and other residues. A shop vacuum can be useful for ash removal. There are smaller shop vacs that are great for ongoing maintenance of your grill and smoker. For electronics be sure that it’s clear of any cobwebs and wires sit where they are supposed to.
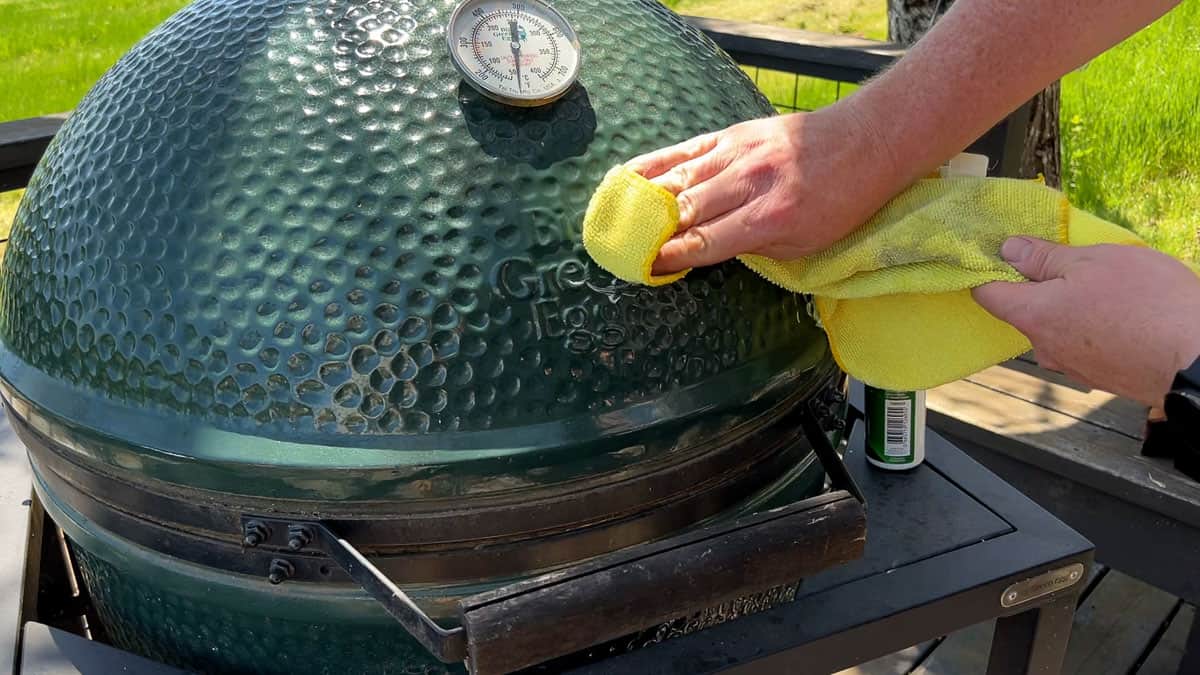
- Exterior: Wipe down the outside with a damp cloth. For stainless steel, use a cleaner made specifically for that material to avoid streaks and spots. For stainless steel we use Bar Keepers Friend. For our Big Green Egg we use a ceramic cleaner, but citrus degreasers work well too.

Many smokers aren’t able to reach higher temperatures. If that is the case run the grill as hot as you can for about 2 hours. This should liquify any residual grease. You may not see the ashy white residue like a high heat burn but you can still wipe away the grime from your grill grates and side walls.
Step 2: Discard Grease
After the burn, be sure you have emptied your grease buckets and that the grease traps are clear and clean. You don’t want a few months of grease to sit in the chamber or any tubing. It hardens and becomes that much more difficult to clean out.
Step 3: Check and Store Fuel
- Propane tanks – Close down any propane tanks, and run your grill to high to bleed out any excess propane in the hoses. Disconnect and store propane tanks in a cool, dry place. Ensure they are away from direct sunlight or places where temperatures can drop extremely low.
- Charcoal – Store any unused charcoal in a dry location to prevent it from becoming damp, or just discard the charcoal. Dispose of ash in an appropriate bucket. Charcoal and ash will absorb ambient moisture and create unwanted mildew and humidity in your grill which leads to rust and mold.
- Starters – Any starters you use (tumbleweed, etc) and matches keep in a dry location like garage or shed and be sure they aren’t stored inside your grill.
Key Tip: Be sure your grill is cleaned out and no ash or food residue remains.
Pellet Grills
An important tip for pellet grills is to make sure you have emptied the pellets from the hopper AND you have run your pellets completely through the auger. If you leave pellets in the hopper or auger and they get wet – then they will harden almost like cement. This is a common reason why you start up a pellet grill after long use and the auger won’t turn.
So be sure the hopper is empty first. Then run the pellet grill on high until no remaining pellets are in the auger.
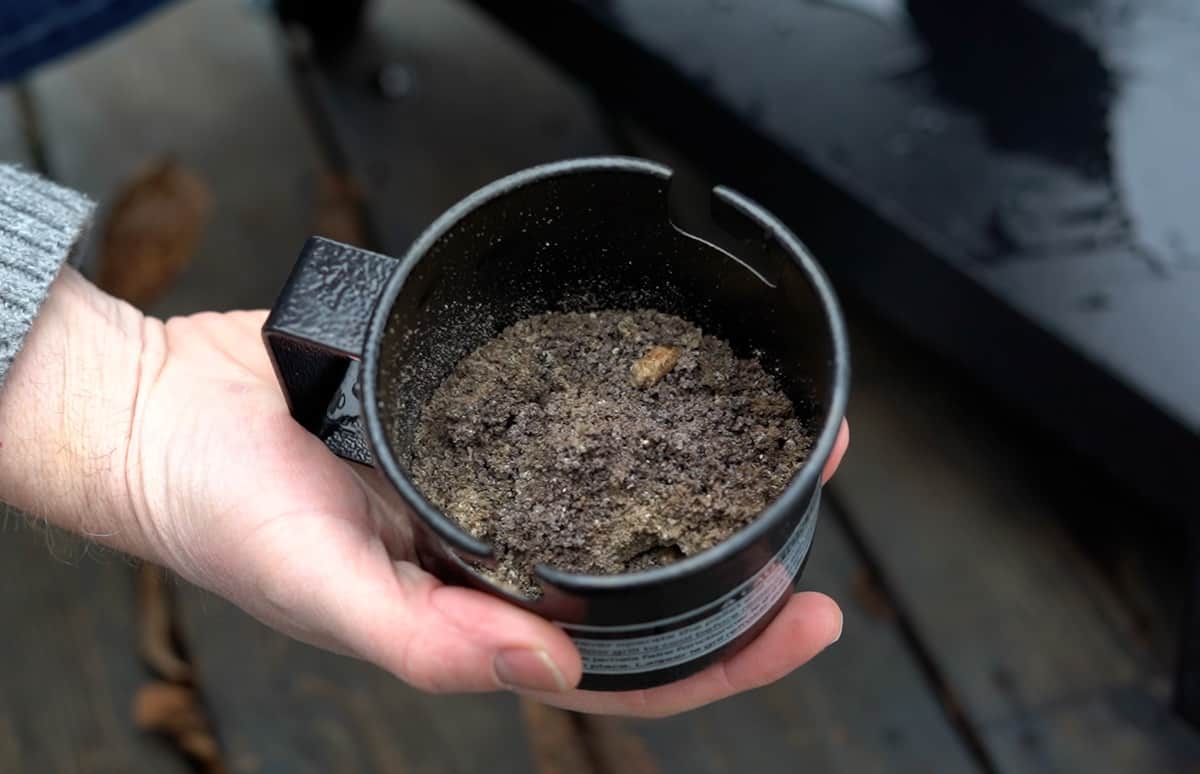
Then when the ash cools, clean out the fire pot.

Step 4: Check for Wear and Tear
Inspect your equipment for signs of damage or areas that might need repair. Winter can exacerbate existing issues, so tackle them now. Look for:
- Rust Spots – For your steel grills be sure you sand down any rust spots and the immediate paint around it. Then add some high heat barbecue touch up paint to avoid the rust from expanding. Rust is NOT something to ignore. If left unchecked it can wear completely through thin metal or can expand to a larger area of your lid or sides. Make sure it’s high heat BBQ paint.
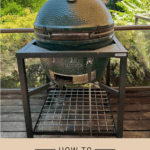
- Hardware – Make sure you tighten any loose fittings because as the air gets colder those pieces shrink and will only get looser. This is especially important on Kamado style grills like the Big Green Egg. Those bands need to be tight.
- Electronics – Wipe off any build up on temperature probes, and check to make sure the wires are not kinked or otherwise disconnected.
- Gaskets – Damaged gaskets in smokers should be replaced if blown or excessively worn. These are more common on kamado style grills. We have a guide on how to replace a gasket.
Step 5: Protect from Moisture
The burn is done, the interior and exterior is cleaned off, and you have fine tuned any wear issues. Now it’s time to minimize any exposure to excessive moisture.
Moisture is one of the biggest threats to grills and smokers during winter. Especially if you are near an ocean coast.
Would you like to save this?
- Ensure all grates, heat shields, and grease trays are emptied and dried. This avoids mold buildup. You see the theme here is keep clean.
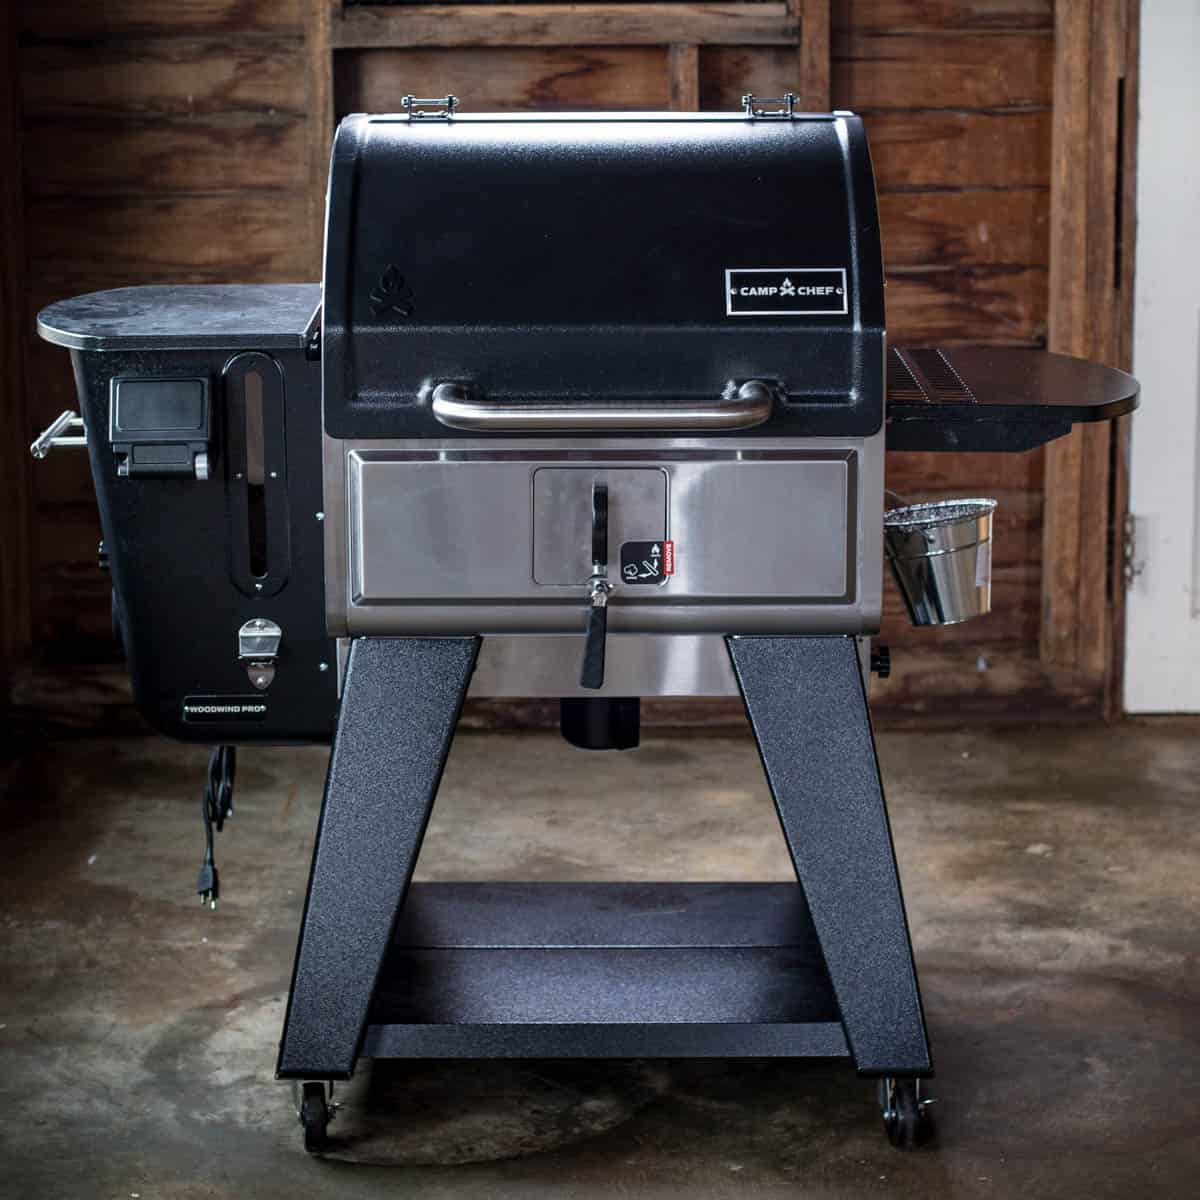
- If your equipment has an ash catcher, like in a Camp Chef Woodwind, empty it to prevent moisture buildup and corrosion.
- Store under cover if you can or consider a grill cover.
Opt for a Sheltered Location
If possible, store your grill or smoker in a sheltered location, such as a garage or shed. This provides added protection from the elements and avoids the need for a cover. If this isn’t an option, choose a spot that’s shielded from prevailing winter winds.
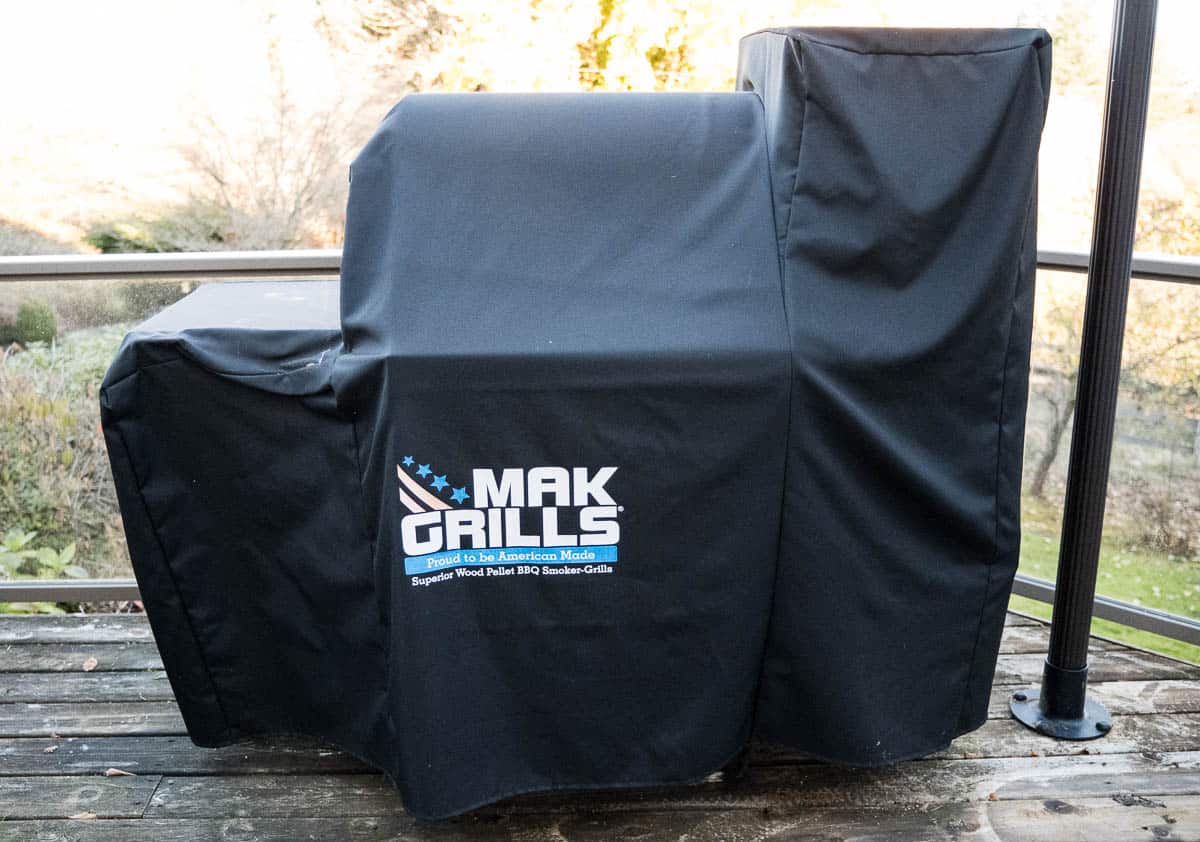
Step 6: Cover Up
Humid and Wet Climates – A high-quality, waterproof cover is essential if you live in an environment prone to lots of precipitation. Ensure it fits snugly and covers your equipment entirely. A cover not only keeps out moisture but also protects against dust, debris, and critters.
The downside is that covers can lock in humidity, so it’s especially important that you’ve followed the cleaning and removal of any fuel prior to covering.
Dry Climates – If you live in an arid environment or one where there is less humidity and precipitation then consider only covering during adverse weather. This prevents any moisture in the smoker from accumulating any mold.
Step 7: Store Accessories Indoors
Any removable parts, such as grill tools, thermometer probes, or not attached electronic components, should be stored indoors. This will extend their lifespan and ensure they’re ready to go when grilling season returns.
Cast Iron – Make sure any cast iron planchas, grill grates, or tools are clean, dried and oiled to prevent rust.
Stay Active
Even if you’re not using your grill or smoker regularly, it’s a good idea to fire it up once in a while during winter. This helps keep internal parts moving and can reduce moisture buildup. Plus it’s super fun to say your grilling in the snow.
Final Thoughts
Winter doesn’t mean you have to say goodbye to delicious smoky flavors. By taking steps to winterize your grill or smoker, you’re ensuring that when the snow melts and spring arrives, your equipment is ready to deliver another season of mouth-watering barbecue.
Happy Grilling and stay warm this winter!
About Vindulge
Mary (a certified sommelier and recipe developer) and Sean (backyard pitmaster) are co-authors of the critically acclaimed cookbooks — Fire + Wine and Fire + Wine Backyard Pizza — and have been creating content for the IACP-nominated website Vindulge since 2009. They live in Oregon on a farm just outside Portland.

Get a signed copy of our cookbook! Order Now
Tried this recipe? Give us a star rating and we would love to see! Mention @vindulge or use the hashtag #vindulge on all the social media handles. And consider subscribing to our newsletter where we drop all our favorite ideas and inspirations weekly.