This post may contain affiliate links. Read more at our disclosure policy.
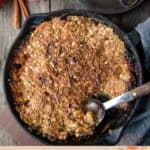
This Grilled Apple Crisp takes everything you love about a classic apple crisp (warm cinnamon apples with a buttery oat topping) and cooks it right on the grill. It’s an easy fall dessert that frees up your oven and adds just a subtle touch of smoky flavor when cooked over charcoal or wood.
And yes, you can absolutely bake dessert on the grill!
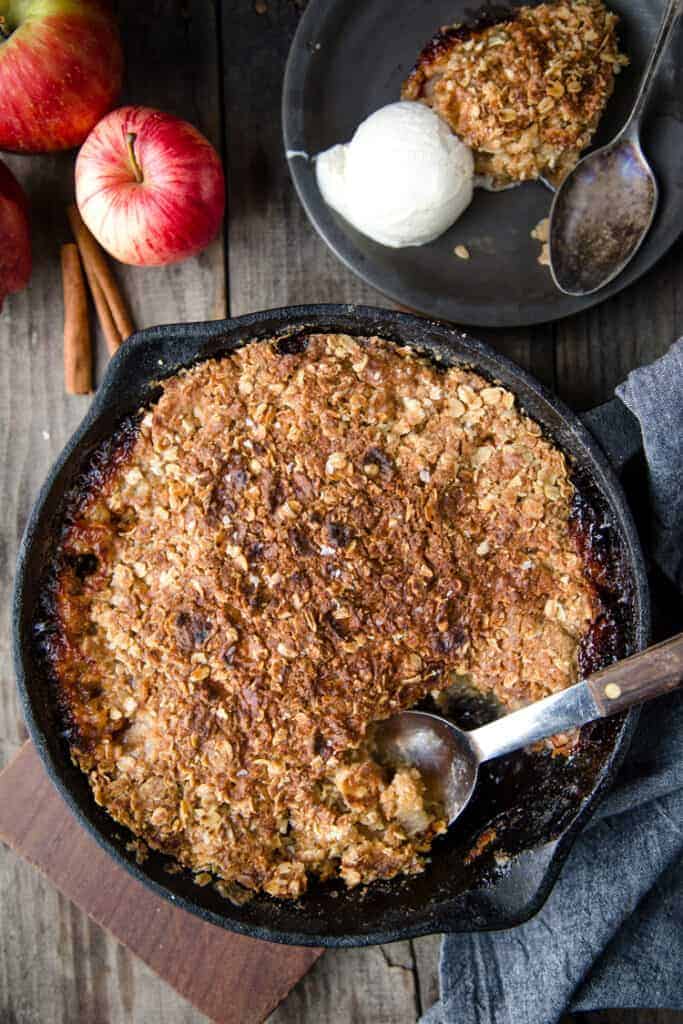
We’ve been making apple crisps on the grill for years, especially in the fall when the apple trees are loaded and we’re looking for any excuse to put them to work. This version makes enough for a crowd and is just as at home on a Thanksgiving table as it is at a casual backyard dinner.
The key is treating your grill like an oven: maintain a steady 350–375°F temperature, use indirect heat, and let the cast iron do its thing.
Our philosophy of cooking is that anything you can cook on the stovetop or oven you can cook on the grill or smoker (and it’s a heck of a lot more fun!). That goes for baking an apple crisp directly on the grill!
Table of Contents
Why You’ll Love This Grilled Apple Crisp
- It doesn’t use the oven. Keep the oven free while your grill handles dessert.
- It’s easy to make. The filling and topping come together quickly before everything goes into one skillet.
- It’s perfect for fall. Apples, cinnamon, nutmeg, and a buttery oat topping are classic fall flavors.
- It feeds a crowd. This recipe makes about eight servings, making it great for entertaining.
- You can cook it on almost any grill. Gas, charcoal, and pellet grills all work.
- It’s even better warm. Add a big scoop of vanilla ice cream and let it melt into the crisp. That’s the good stuff.
Ingredients
This apple crisp uses simple ingredients, but a few of them make a big difference.
For the Apple Filling
- Apples: Use firm apples that hold their shape when baked.
- Orange and lemon: Both the zest and juice add acidity and brightness to the apples.
- Sugar: Granulated sugar sweetens the filling without overpowering the apples.
- Cinnamon and nutmeg: Classic warm spices that give the filling that familiar fall-vibe apple-crisp flavor.
For the Topping
- Cold butter: Cold butter helps create those buttery, crisp little pieces throughout the topping.
- Flour: Provides structure for the crumble.
- Oats: Adds texture and that classic apple crisp topping.
- Granulated and brown sugar: The combination gives the topping both sweetness and a little caramelized flavor.
- Kosher salt: A small amount balances the sweetness.
See the recipe card below for the complete ingredient amounts.
Preparation
Prepare the Apple Filling
Peel, core, and cut the apples into large wedges. Add them to a large bowl along with the orange and lemon zest, citrus juices, sugar, cinnamon, and nutmeg. Toss everything together until the apples are evenly coated.
Don’t cut the apples too small. Larger pieces hold their shape better during the longer cooking time.
Make the Crisp Topping
In a large bowl or the bowl of a stand mixer, combine the flour, oats, granulated sugar, brown sugar, and kosher salt.
Add the cold cubed butter and mix until the butter is incorporated and the mixture becomes crumbly, with pieces of butter about the size of peas.
You can also make the topping by hand by working the butter into the dry ingredients with your fingers.
Choosing the Best Apples
For apple crisp, look for apples that are firm, crisp, slightly tart, and slightly sweet. You want an apple that keeps some structure during cooking rather than turning into applesauce.
Good choices include:
- Granny Smith
- Honeycrisp
- Braeburn
- Pink Lady
- Fuji
- Cortland
You can also use a combination of apples. In fact, mixing varieties gives the finished crisp a little more depth of flavor and texture.
Avoid very soft apples such as Red Delicious. They tend to break down too much during the longer cook.
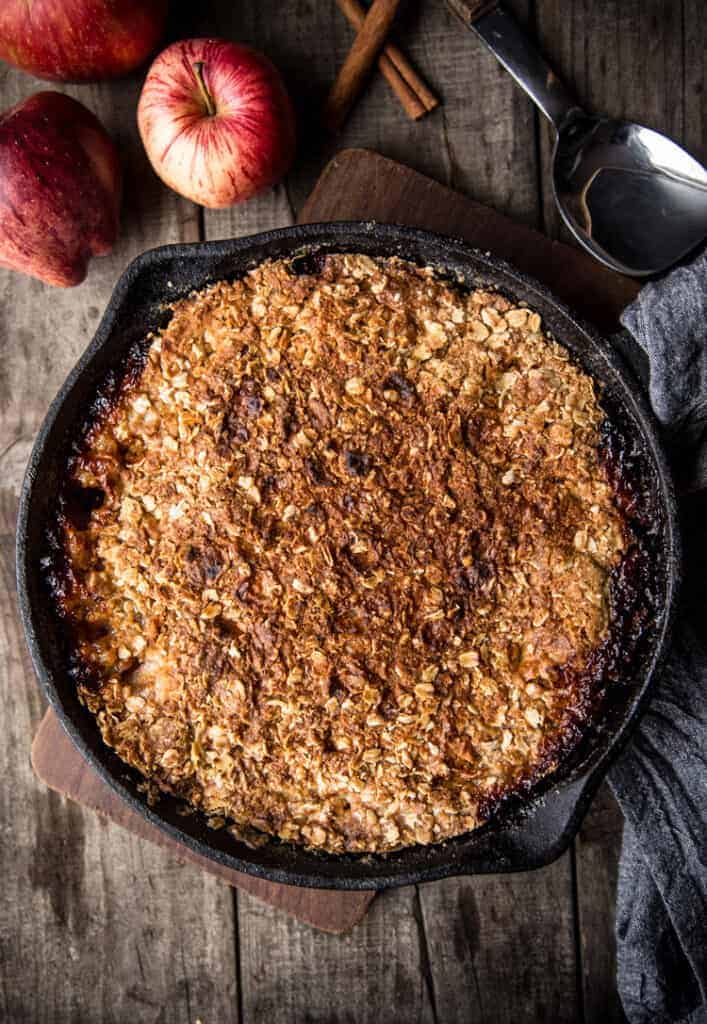
How to Grill Apple Crisp
The most important part of grilling an apple crisp is maintaining a steady temperature and using indirect heat.
Grill Setup
Prepare your grill for indirect cooking and target 350–375°F.
Use a 9-inch cast iron skillet or another grill-safe pan that can handle high heat.
Would you like to save this?
Gas Grill
A gas grill works much like an oven. Set the grill to 350–375°F and use indirect heat by turning on the burners away from where you’ll place the skillet.
There’s no need to cover the apple crisp with foil when using a gas grill.
Charcoal Grill
Set up your charcoal grill for two-zone cooking, with the hot coals banked on one side and the skillet placed on the cooler side.
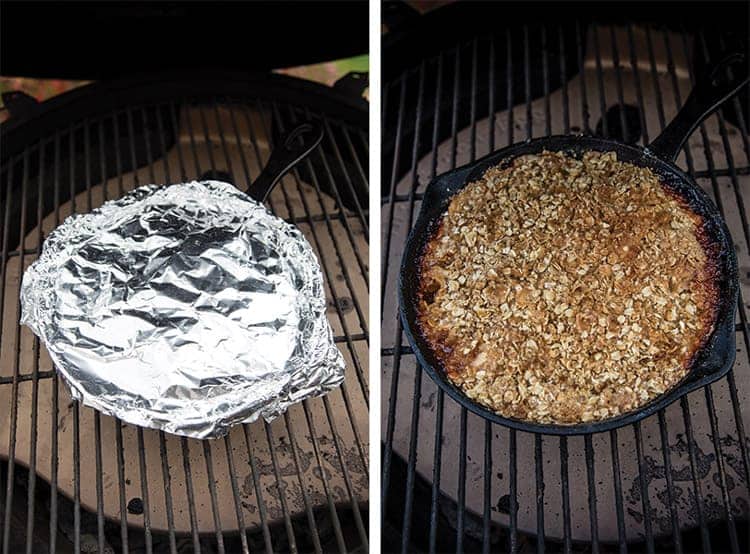
For the first 30 minutes, cover the skillet with foil. This helps prevent the topping from picking up too much smoke and allows the apples to cook without the topping becoming overly dark.
Remove the foil for the final 30 minutes so the topping can brown and crisp.
Pellet Grill
Pellet grills are already designed for indirect cooking, so they’re particularly easy for this recipe.
Set the grill to 350°F, place the covered skillet on the grill, and remove the foil after about 30 minutes.
If you want a subtle smoky flavor, use a fruit wood such as apple or cherry.
Grill the Apple Crisp
Place the prepared apple crisp on the grill over indirect heat.
Cook at 350–375°F for approximately 1 hour, removing the foil after the first 30 minutes.
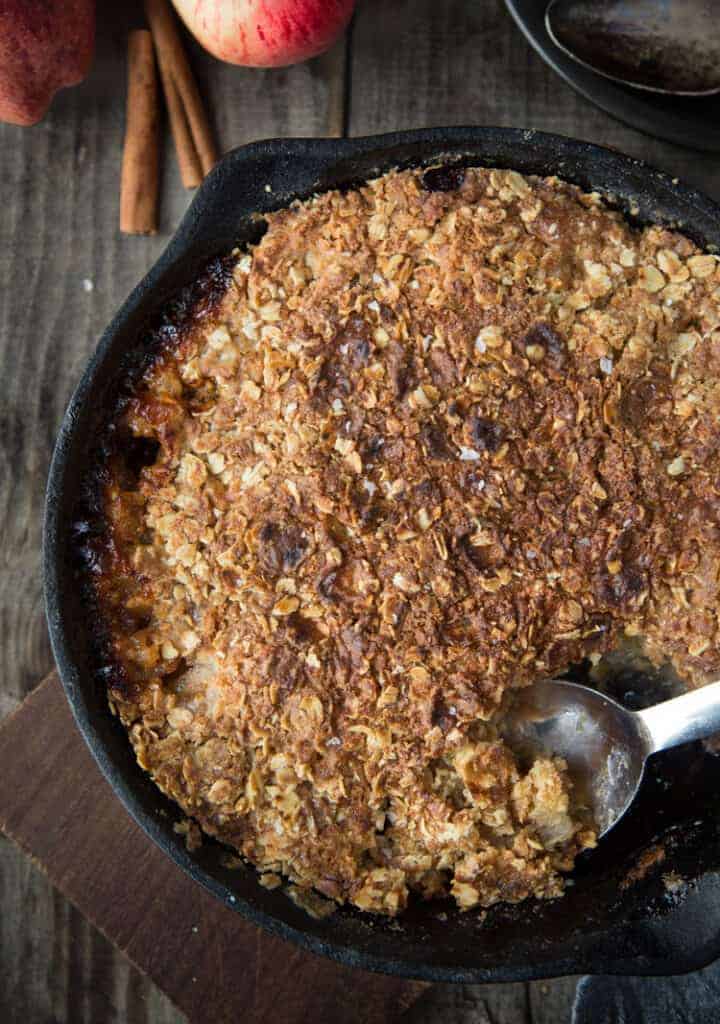
The apple filling should be bubbling around the edges and the topping should be golden brown and crisp.
At 350°F, expect about 1 hour 15 minutes. At 375°F, it will take closer to 1 hour.
I recommend starting to check it around the one-hour mark rather than relying solely on the clock. Grills can vary quite a bit in how they hold temperature.
Expert Tip
Don’t skimp on the citrus.
The orange and lemon zest and juice might seem like a small addition, but they keep the apple filling from tasting overly sweet and add a little brightness to all those warm spices.
And don’t cut your apples too small. Large wedges will soften while still retaining some texture, rather than disappearing into applesauce.
Frequently Asked Questions (FAQ)
Yes. Gas, charcoal, and pellet grills all work. The important thing is maintaining a steady temperature between 350–375°F and cooking the crisp over indirect heat.
Cast iron is my preference because it handles high grill temperatures well and distributes heat evenly, but you can use another grill-safe baking dish that can withstand the heat.
It depends on your grill. On a charcoal grill, I recommend covering the crisp for the first 30 minutes to prevent it from taking on too much smoke. On a gas or pellet grill, you can also cover it for the first half of cooking, but it isn’t strictly necessary on a gas grill.
The filling should be bubbling and the topping should be golden brown and crisp. If the topping is getting dark before the apples are tender, loosely cover it with foil and continue cooking.
Yes, but what’s the fun in that?! 😉
Seriously though, yes, you can. The same temperature works in a conventional oven. Bake at 350–375°F until the filling is bubbling and the topping is golden brown, approximately 45–60 minutes.
Yes. You can prepare the apple filling and topping separately earlier in the day and refrigerate them until you’re ready to assemble and bake.
For the best texture, wait to add the topping until you’re ready to cook the crisp.
Yes. Substitute a 1-to-1 gluten-free all-purpose flour for the all-purpose flour in the topping.
What to Serve with Apple Crisp
This one really only needs one thing:
Vanilla ice cream.
Serve the apple crisp warm with a big scoop of vanilla bean ice cream and let it melt over the top.
If you want to dress it up a little more, add:
- Caramel sauce
- A drizzle of honey
- Whipped cream
- Smoked whipped cream
For a fall dinner or Thanksgiving meal, you can also pair it with a dessert wine such as a late-harvest wine or ice wine.
Tools Used
- 9-inch cast iron skillet
- Grill
- Foil
- Large mixing bowls
- Pastry cutter or stand mixer, optional
- Zester
- Apple peeler and corer
About Vindulge
Mary (a certified sommelier and recipe developer) and Sean (backyard pitmaster) are co-authors of the critically acclaimed cookbooks — Fire + Wine and Fire + Wine Backyard Pizza — and have been creating content for the IACP-nominated website Vindulge since 2009. They live in Oregon on a farm just outside Portland.
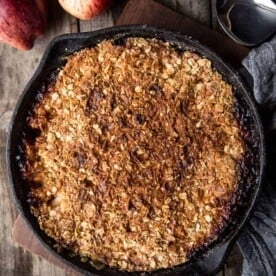
Grilled Apple Crisp
Ingredients
For the Topping:
- 12 tablespoons unsalted butter, cold and cut up into small cubes
- 1 cup all-purpose flour, (can make Gluten Free by substituting 1 to 1 gluten free all purpose baking flour)
- 1 cup oatmeal, (rolled oats work best)
- 1/2 cup granulated sugar
- 1/2 cup brown sugar
- 1/4 teaspoon kosher salt
For the Filling:
- 3 lbs apples, peeled, cored, and cut into large wedges
- zest of 1 orange
- zest of one lemon
- 2 tablespoons fresh squeezed orange juice, (juice of 1/2 an orange)
- 2 teaspoons fresh squeezed lemon juice, (juice of 1/2 a lemon)
- 1/4 cup granulated sugar
- 1 teaspoon ground cinnamon
- 1/4 teaspoon ground nutmeg
Instructions
- Prepare the grill: Set up the grill for indirect cooking and target 350–375°F.(Or if using a gas grill, heat it up to 350 degrees F)
- Make the filling: In a large bowl, combine the apples, orange zest, lemon zest, orange juice, lemon juice, sugar, cinnamon, and nutmeg. Toss until the apples are evenly coated. Transfer to a 9-inch round cast iron skillet.
- Make the topping: In a large bowl or stand mixer, combine the flour, oats, granulated sugar, brown sugar, and kosher salt. Add the cold butter and mix until the topping is crumbly and the butter pieces are approximately the size of peas. You can also work the butter in by hand.
- Assemble: Spread the topping evenly over the apple mixture. For a charcoal grill, cover the skillet with foil before placing it on the grill.
- Grill: Place the crisp on the grill over indirect heat for 30 minutes. Remove the foil, and then continue cooking on the grill for an additional 30 minutes, or until the mixture is bubbly and the topping is browned and crispy.
- Serve: Remove from the grill and allow to cool slightly. Serve warm with vanilla ice cream. Yum!
Notes
Nutrition
Nutrition information is automatically calculated, so should only be used as an approximation.
*Disclaimer: This post contains affiliate links for the cast iron dish you see in the picture. That means I receive a small commission if you purchase this dish through amazon. By purchasing through these links you are supporting this site so that we can continue to share more grilling and smoked love! I only recommend products we use (often!) and love dearly.