How To Check Your Thermometers Accuracy – Calibration Tips
Jul 25, 2024, Updated Dec 04, 2024
This post may contain affiliate links. Read more at our disclosure policy.
An accurate digital thermometer is crucial to ensure your food is cooked to the exact temperature you like, especially if it’s used in environments where precise temperature readings are vital like cooking and baking. Learn how to check your thermometers accuracy and when your thermometer needs to be calibrated.
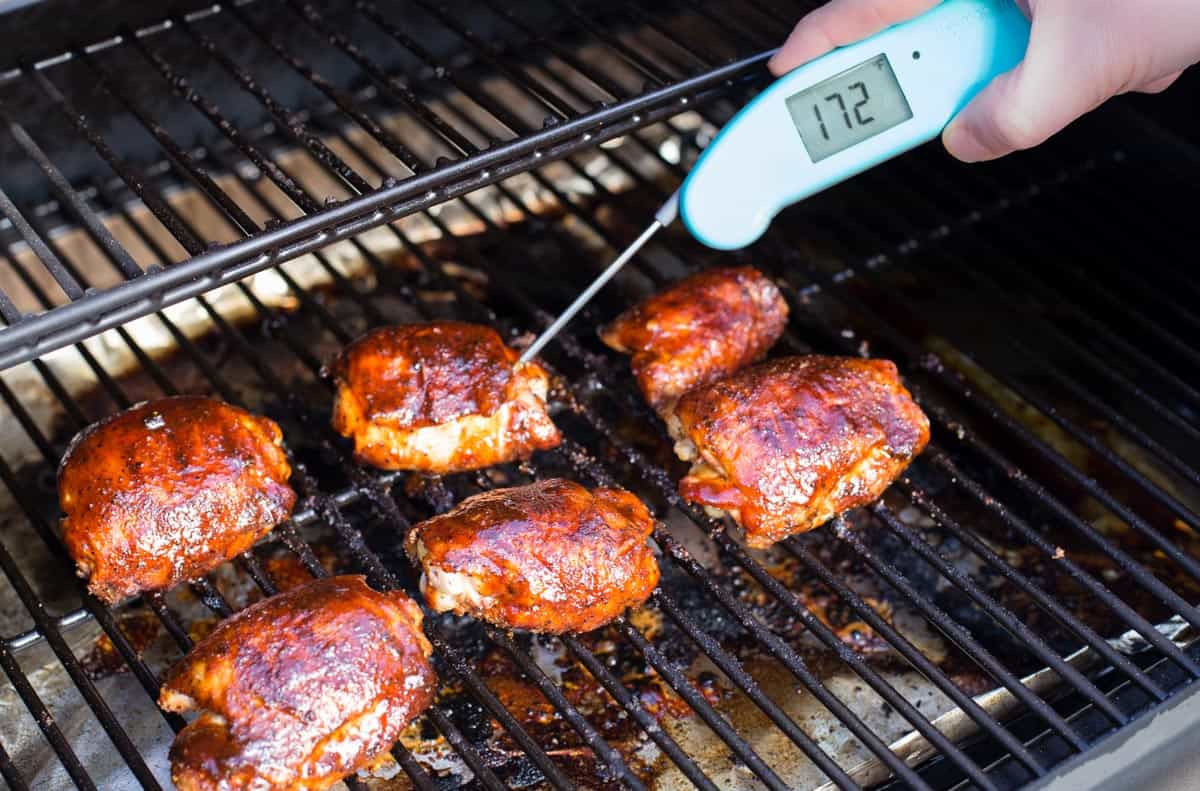
We will guide you through the steps to check a digital thermometers accuracy, explain why it is superior to a dial thermometer, and discuss why using boiling water as a calibration method is not recommended.
Table of Contents
Why Choose a Digital Thermometer Over a Dial Thermometer?
Before diving into whether your thermometer needs calibration, it’s essential to understand why digital thermometers are often preferred over dial thermometers. However, this method works for dial thermometers as well.
It’s important because the perfect chicken temperature or your preferred steak temperature can go from great to overcooked in mere seconds.
Accuracy and Precision
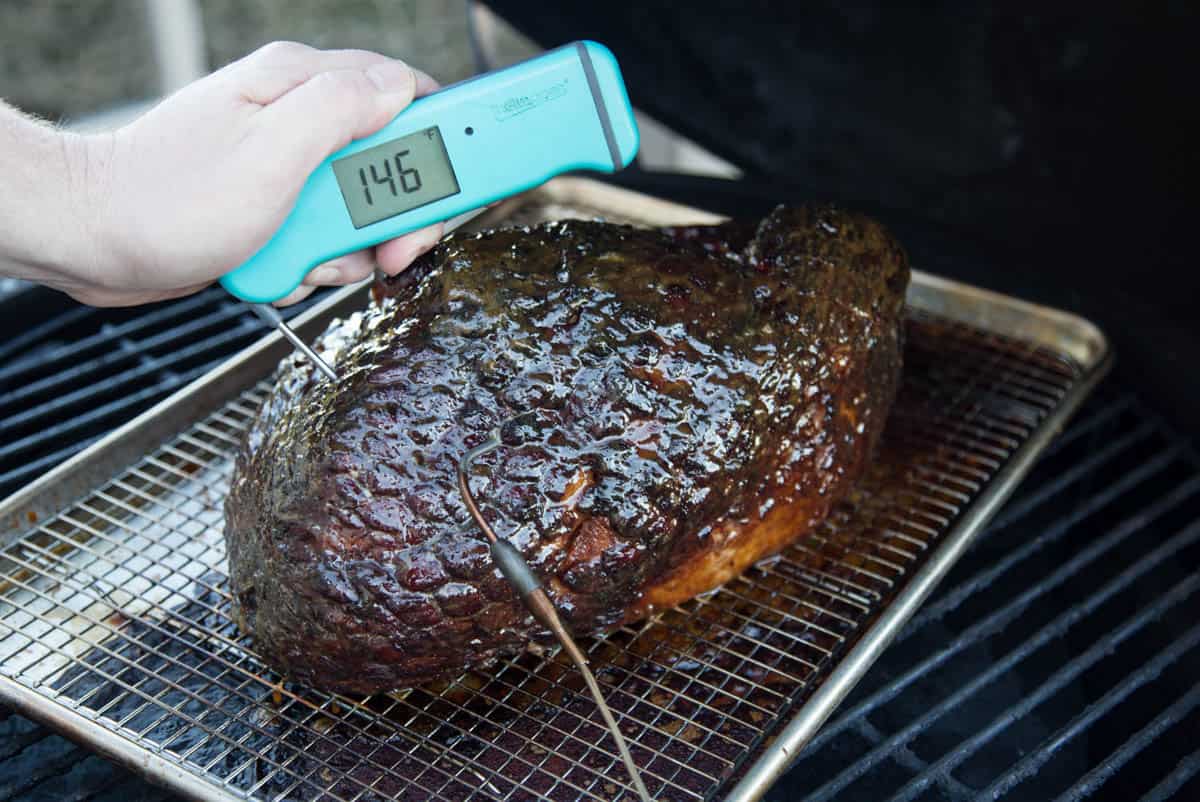
Digital thermometers provide more accurate and precise readings compared to dial thermometers. They are designed with advanced sensors that can detect minute temperature changes, ensuring you get a reliable measurement every time.
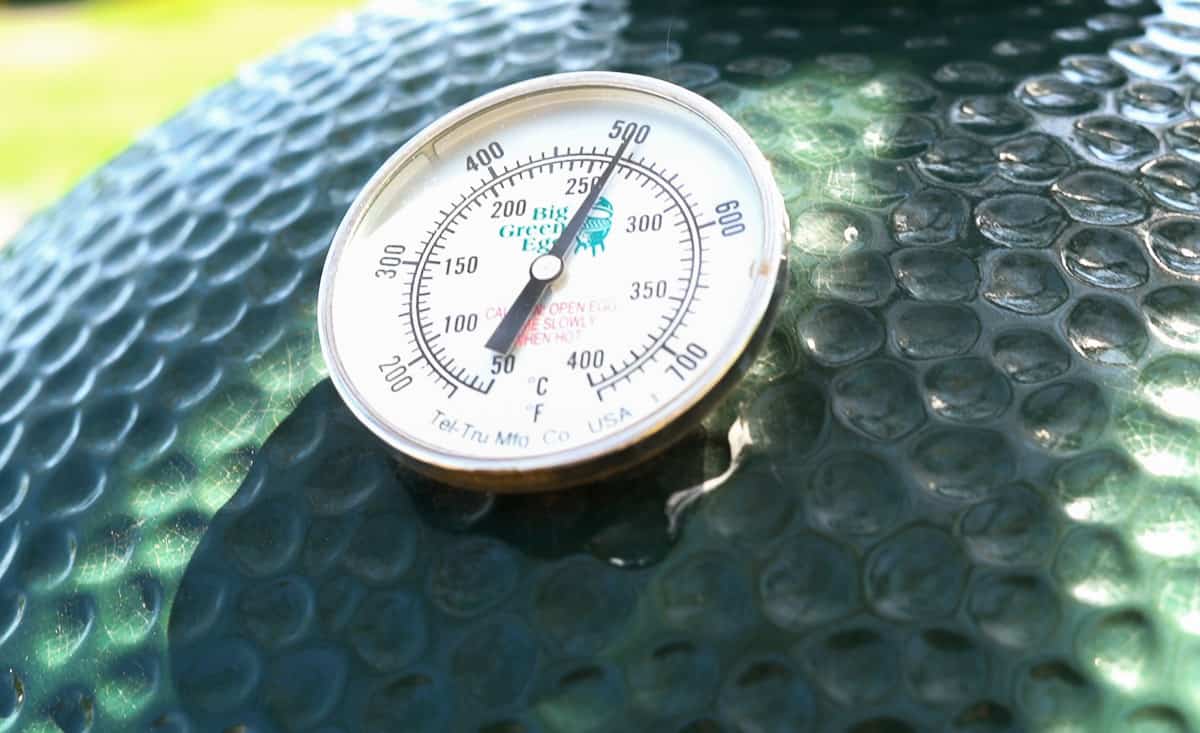
Dial thermometers, on the other hand, rely on a mechanical needle that can be prone to errors due to friction or misalignment. And they generally take longer to monitor temperature, especially when taking the temperature of food.
Ease of Use
Digital thermometers are user-friendly. They usually have a simple interface with a digital display, making it easy to read the temperature. Dial thermometers require you to interpret the position of the needle, which can be challenging, especially if the scale is small or the lighting is poor.
Speed
Digital thermometers typically provide faster readings. While a dial thermometer might take a few minutes to stabilize and give an accurate reading, a digital thermometer can do this within seconds. This speed is crucial in scenarios like cooking or medical emergencies where time is of the essence.
The Problem with Using Boiling Water for Testing Temperature Accuracy
A common method for calibrating thermometers is using boiling water. However, this method has limitations and is not ideal for digital thermometers.
The boiling point of water is not constant; it changes with altitude and atmospheric pressure. At sea level, water boils at 212°F (100°C), but at higher altitudes, it boils at lower temperatures.
For instance, at 6,562 feet (2,000 meters) above sea level, water boils at about 199.4°F (93°C). This variation can lead to inaccurate calibration if the local boiling point is not precisely known.
Would you like to save this?
The Best Way to Check The Accuracy Of A Thermometer – Ice Bath
Now, let’s get into the best steps for calibrating a digital thermometer. The most reliable is using ice cubes and water.
Materials Needed
- A glass of crushed ice
- Water
- A Digital Thermometer
- A stirrer (optional)
How To Check Your Thermometers Accuracy
- Prepare the Ice Bath: Fill a glass or container large enough to handle the probe with crushed ice completely and add water until the glass is full. Stir the mixture well to ensure that the temperature throughout the glass is uniform. The temperature of this ice bath should be very close to 32°F (0°C).
- Insert the Thermometer: Place the probe of the digital thermometer into the ice water mixture. Make sure the probe is fully submerged but not touching the sides or bottom of the glass, as this can affect the reading.
- Wait for Stabilization: Allow the thermometer to stabilize. This will vary based on the thermometer. For a Thermoworks Thermapen this will happen in seconds, others up to a minute. The reading should be steady and not fluctuating.
- Check the Reading: Once the reading has stabilized, it should be 32°F (0°C). If the thermometer shows a different temperature, note the difference.
- Adjust the Thermometer: Some digital thermometers come with a calibration feature. Refer to the user manual for instructions on how to adjust the reading. If your thermometer doesn’t have this feature, you’ll need to remember the difference and adjust your readings mentally or use software adjustments if applicable. Some manufacturers like Thermoworks will do it for you for a small shipping fee.
Expert Tip
The glass or container must be full of ice. Any water that is at the bottom with no ice will be a different temperature than the water with the ice. So be sure the container is completely full of ice. If you do have a portion at the base with just water be sure your probe is not that far down.
Regular Maintenance and Recalibration
Checking your digital thermometers accuracy should be part of regular maintenance. Depending on the frequency of use, you might need to recalibrate it monthly or quarterly. Always check the manufacturer’s recommendations for specific guidelines. You can also see the same steps highlighted by our friends at Thermoworks.
Storage and Handling
Proper storage and handling of your digital thermometer can also impact its accuracy. Avoid exposing it to extreme temperatures, moisture, or physical shocks. Store it in a protective case when not in use.
Get Cooking
Calibrating a digital thermometer is a straightforward process that ensures you get accurate and reliable temperature readings. By choosing a digital thermometer over a dial thermometer, you benefit from greater accuracy, ease of use, and faster readings.
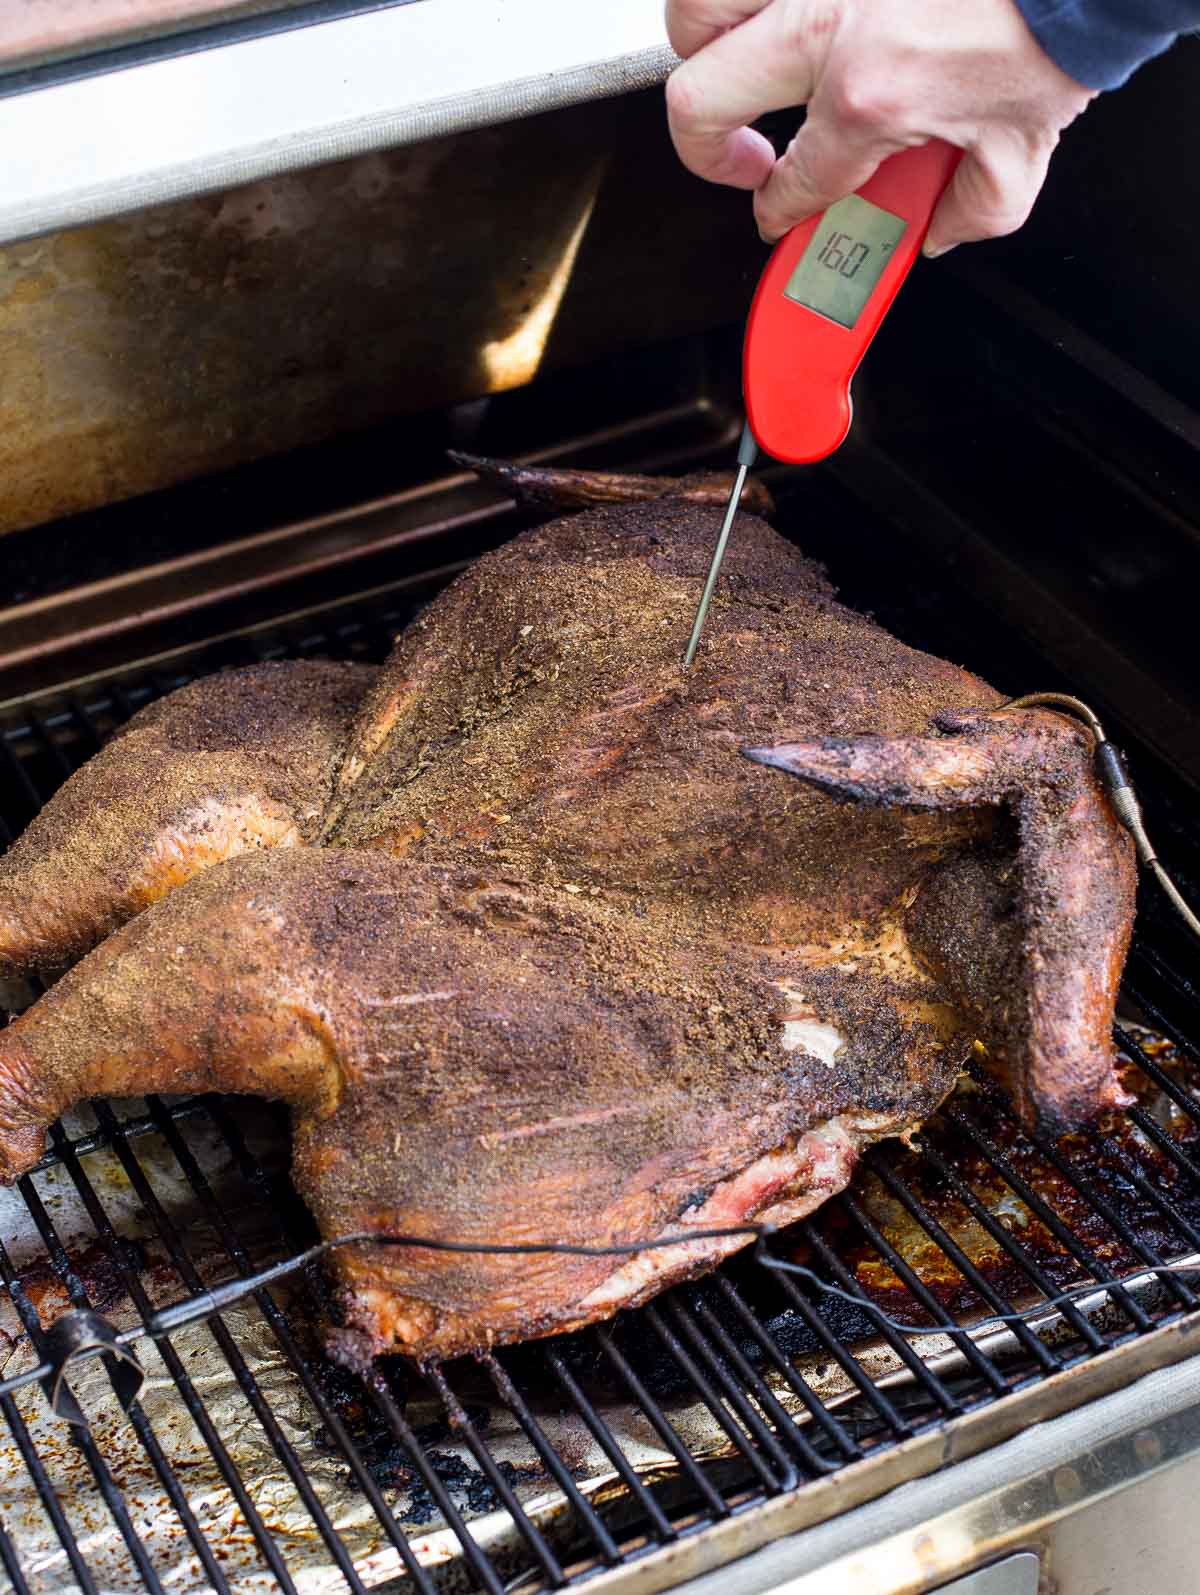
That means you have better outcomes with your smoked turkey, smoked brisket, or your perfectly grilled steaks.
Remember, using boiling water for calibration is not ideal due to variable boiling points. Instead, use the ice water method or a certified reference thermometer for best results. Regular calibration and proper maintenance will keep your digital thermometer in top working condition, ensuring it serves you well for years to come.
Related Content
- The Best Instant Read Thermometer – A review of the Thermapen One.
- Best Thermometer Under $35 – A review of the Thermoworks ThermoPop.
- Essential Pizza Tools – Your must have guide to the best pizza tools.
- The Best Wireless Thermometer In The Market – RFX by Thermoworks
How To Check A Thermometers Accuracy
Equipment
- large cup or container
Ingredients
- 2 cups ice, Be sure ice completely fills the water with no gap at bottom.
- 2 cups water
Instructions
- Prepare the Ice Bath: Fill a glass or container large enough to handle the probe with crushed ice completely and add water until the glass is full. Stir the mixture well to ensure that the temperature throughout the glass is uniform. The temperature of this ice bath should be very close to 32°F (0°C).
- Insert the Thermometer: Place the probe of the digital thermometer into the ice water mixture. Make sure the probe is fully submerged but not touching the sides or bottom of the glass, as this can affect the reading.
- Wait for Stabilization: Allow the thermometer to stabilize. This will vary based on the thermometer. For digital thermometers it will take a few seconds. For dial thermometers it can take up to a minute.
- Check the Reading: Once the reading has stabilized, it should be 32°F (0°C). If the thermometer shows a different temperature, note the difference.
- Adjust the Thermometer: Some digital thermometers come with a calibration feature. Refer to the user manual for instructions on how to adjust the reading. If your thermometer doesn’t have this feature, you’ll need to remember the difference and adjust your readings mentally or use software adjustments if applicable. Some manufacturers like Thermoworks will do it for you for a small shipping fee.
Notes
Nutrition information is automatically calculated, so should only be used as an approximation.
