This post may contain affiliate links. Read more at our disclosure policy.


A basic turkey brine recipe is a simple way to add flavor to turkey or any poultry for your Thanksgiving dinner. Follow these easy steps for the best turkey brine recipe for juicy and perfectly cooked holiday birds every time. But first, let’s talk about what a brine is.
Turkey Brine Recipe Highlights
- This brine works for a whole turkey or a spatchcocked turkey. Be sure it’s a raw turkey (thawed) first. You can cut the recipe in half for a turkey breast.
- A brined turkey is the best way to achieve juicy meat for any roasted, grilled, or smoked turkey, and crispy skin.
- Kosher salt is one of the key ingredients to have on hand.
We have cooked thousands of turkeys over the years between catering and our cookbook and we have learned that brining is a key technique when cooking poultry low and slow. You can also check out our guide on your first smoked turkey if researching the if it’s your first time smoking a bird.
Table of Contents
What is a Brine?
The wet brining process is using a ratio of salt and water to add flavor to a meat and especially a flavorful turkey over a period of time. There are two types of brines.
- Wet Brine – Using liquid and other flavor elements and submersing the meat into the brine solution.
- Dry Brine – Using salt and other herbs and spices dry brining is seasoning without a liquid and applied directly to the meat.
What Does a Brine Do?
The process of osmosis occurs, which allows the salt water solution to pass through the cells of the meat, adding moisture and flavor into the meat.
The Reason This Brining Recipe Works
A brine is not necessary for flavorful turkey, but a brine is especially helpful in adding flavor and moisture to lean meats, including turkey and whole chicken. There are some cooking techniques that also are enhanced by a brine, like smoking turkey. Because of the longer cooking time, there is a greater chance of the meat drying out, which is why we recommended making a brine for turkey or poultry.
Be sure to start with a thawed turkey. If it’s a frozen turkey it takes longer to first defrost and then take on the brine. So be sure to start with a thawed turkey. For planning purposes give yourself 3 days to defrost the turkey and one full day to brine before cooking.
Chef’s Tip: Be sure the turkey or poultry is not pre-brined, soaked in salt solution, or its equivalent. Pre-brined poultry won’t take on additional flavor.
Storage
Start with understanding how big the turkey is that is going to be brined. Next, be sure you have a vessel large enough to hold the brine and the turkey. If you do not have a large stock pot, alternatives for storing the brine include:
- Using a Brine Bag – These are large plastic bags that contain the liquid and the meat and seal up like a large Ziploc bag.
- Use a Cooler – A large cooler is another alternative for storing a brine. Make the brine in a pot, and then transfer to a clean cooler and add the turkey. Add ice so the ice water keeps the turkey at a safe temperature while brining.
- Use a Bucket – Using a food safe bucket add the brine and turkey.
Regardless of the technique, if you don’t have a large enough stock pot, grab a brine bag or other large container, use one of the alternative vessels.
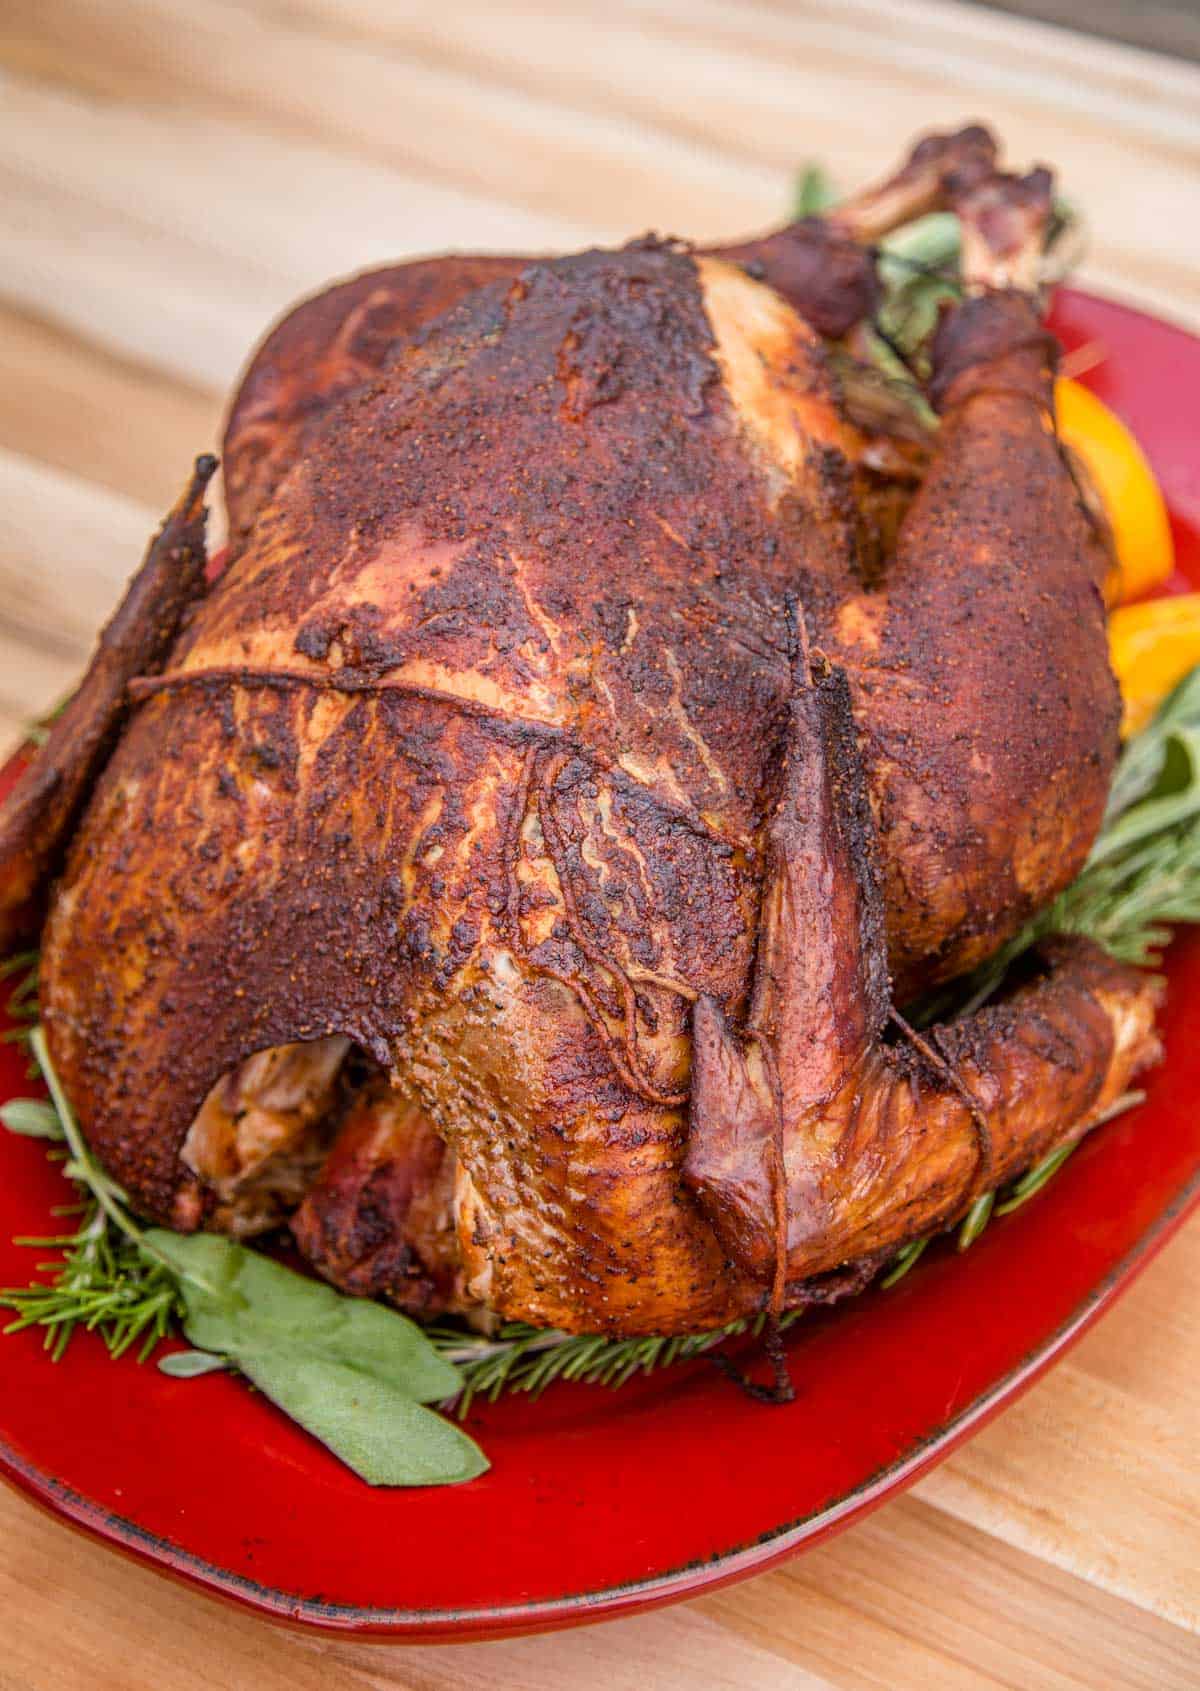
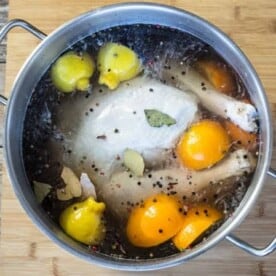
Finally, be sure it stays cool. Add ice outside the bag so the ice does not melt and dilute the brine (this is, of course, if you’re not storing it in the refrigerator as seen in the photo above). Keep the temperature of the brine under 40 degrees Fahrenheit for food safety purposes.
How to Brine a Turkey
- Start with cold water. Measure out 8 quarts (4-quarts equals one gallon of water so in this case 2 gallons of water) and add to a large stock pot. If you only have smaller pots, you can split the recipe in half and then make two versions and combine in the storage vessel.
- Next add kosher salt. Kosher salt is key. We use a salt ratio of 3/4 cups salt for every 4 quarts of water. Taste the water (before raw meat immersed), it should taste like ocean salt water. If using generic sea salt follow the same ratio (all salt is sea salt, it’s the refined crystals and salinity that matters).
- Add sugar to offset the salt. Our ratio for sugar is 1/4 cup sugar for every 4 quarts.
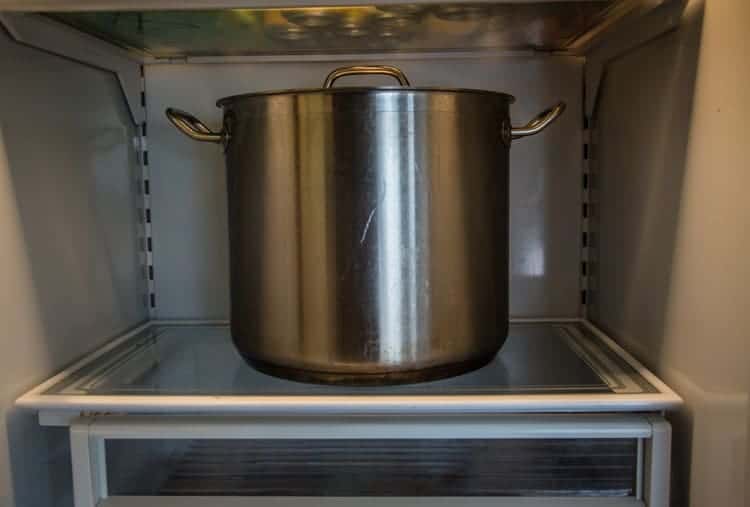
- Finally add the remaining ingredients you would like in the brine. Citrus, onion, and fresh herbs and spices are great additions and will add aromatics to the brine and the flavor of the turkey. Cut up the citrus and onion so more surface area of the ingredient is exposed to the water and adding flavor.
Ingredient Variations
A brine is a blank canvass add or subtract the following based on your preference. Remember that the kosher salt and sugar are the two most important ingredients. Everything else is added flavor and aromatics.
Would you like to save this?
- Whole Pepper Corns
- Red Chili Pepper Flakes
- Bay Leaves
- Citrus
- Alcohol (like Bourbon)
- Fresh or Dried Herbs
- Juice (apple juice is a nice addition)
- Vinegar (apple cider vinegar or white vinegar)
- Maple Syrup

Frequently Asked Questions (FAQ)
Turkey is best brined for a minimum of 12 hours and no more than 36 hours. Our sweet spot is 24 hours. If the turkey is left in too long, the cells will start to break down and the texture will start to harden and become gummy after the turkey is cooked.
No – you do not have to cook or simmer a brine. It does speed up the process of absorbing the salt and sugar but then you have to cool down the brine. We just spend more time stirring the cold water and then brine turkey.
No. It’s not necessary, but patting the turkey dry with paper towels and removing any leftover brine ingredients from the turkey is helpful prior to adding a dry rub. When smoking a turkey, a dry turkey is important to achieving crispy skin.
It is not recommended to re-use a brine based upon the contamination with raw poultry. This is true even if boiling.
For a simple brine use 3/4 cups of kosher salt and 1/4 cup cane or brown sugar for every 1 gallon (4-quarts) of water.
Kosher salt is the preferred type of salt to use. It’s larger crystal size dissolve well in the brine.
Brining Tools
- Brining Bags
- 5-Gallon Food Grade Bucket (For Making Brine and Storage)
- Kosher Salt
Recipes Using a Brine
- Bourbon Brined Smoked Turkey
- Dry Brined Smoked Chicken and Carolina Glaze
- Turkey Breast with Maple Glaze
- Smoked Cajun Spatchcocked Turkey
- Cajun Grilled Turkey Breast
Basic Turkey Brine Recipe
Equipment
- Brining Bag or Large Stock Pot
Ingredients
- 8 quarts water
- 1 ½ cups kosher salt
- ½ cup dark brown sugar
- 2 oranges, quartered
- 2 lemons, quartered
- 1 red onion, quartered
- ¼ cup whole peppercorns
- 4 dry bay leaves
- 5 whole dried cloves, (optional)
- 1 cup Bourbon or Whiskey, (optional, for added flavor)
Instructions
- In a large stock pot add water, salt, and sugar. Stir to dissolve the sugar and salt in the water.
- Add remaining ingredients, squeeze the citrus to add to the flavor and stir.
- Add 12 – 16 pound turkey to the stock pot and cover. Brine for 24 – 30 hours to maximize flavor.
Video
Notes
- Brining Bags
- 5-Gallon Food Grade Bucket (For Making Brine and Storage)
- Kosher Salt
Nutrition
Nutrition information is automatically calculated, so should only be used as an approximation.


This turned out to be the best Turkey we’ve ever had and we will use this brine recipe every time we make Turkey!