This post may contain affiliate links. Read more at our disclosure policy.
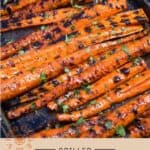
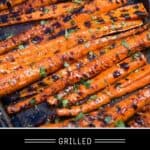

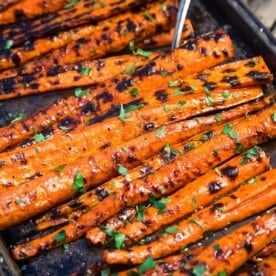
Grilled Carrots finished with a Honey Brown Sugar Glaze are a perfect side dish to any holiday meal or Sunday supper. These grilled and glazed carrots are sure to win your guests over (and your kids too! True story!). The secret is all in the technique.
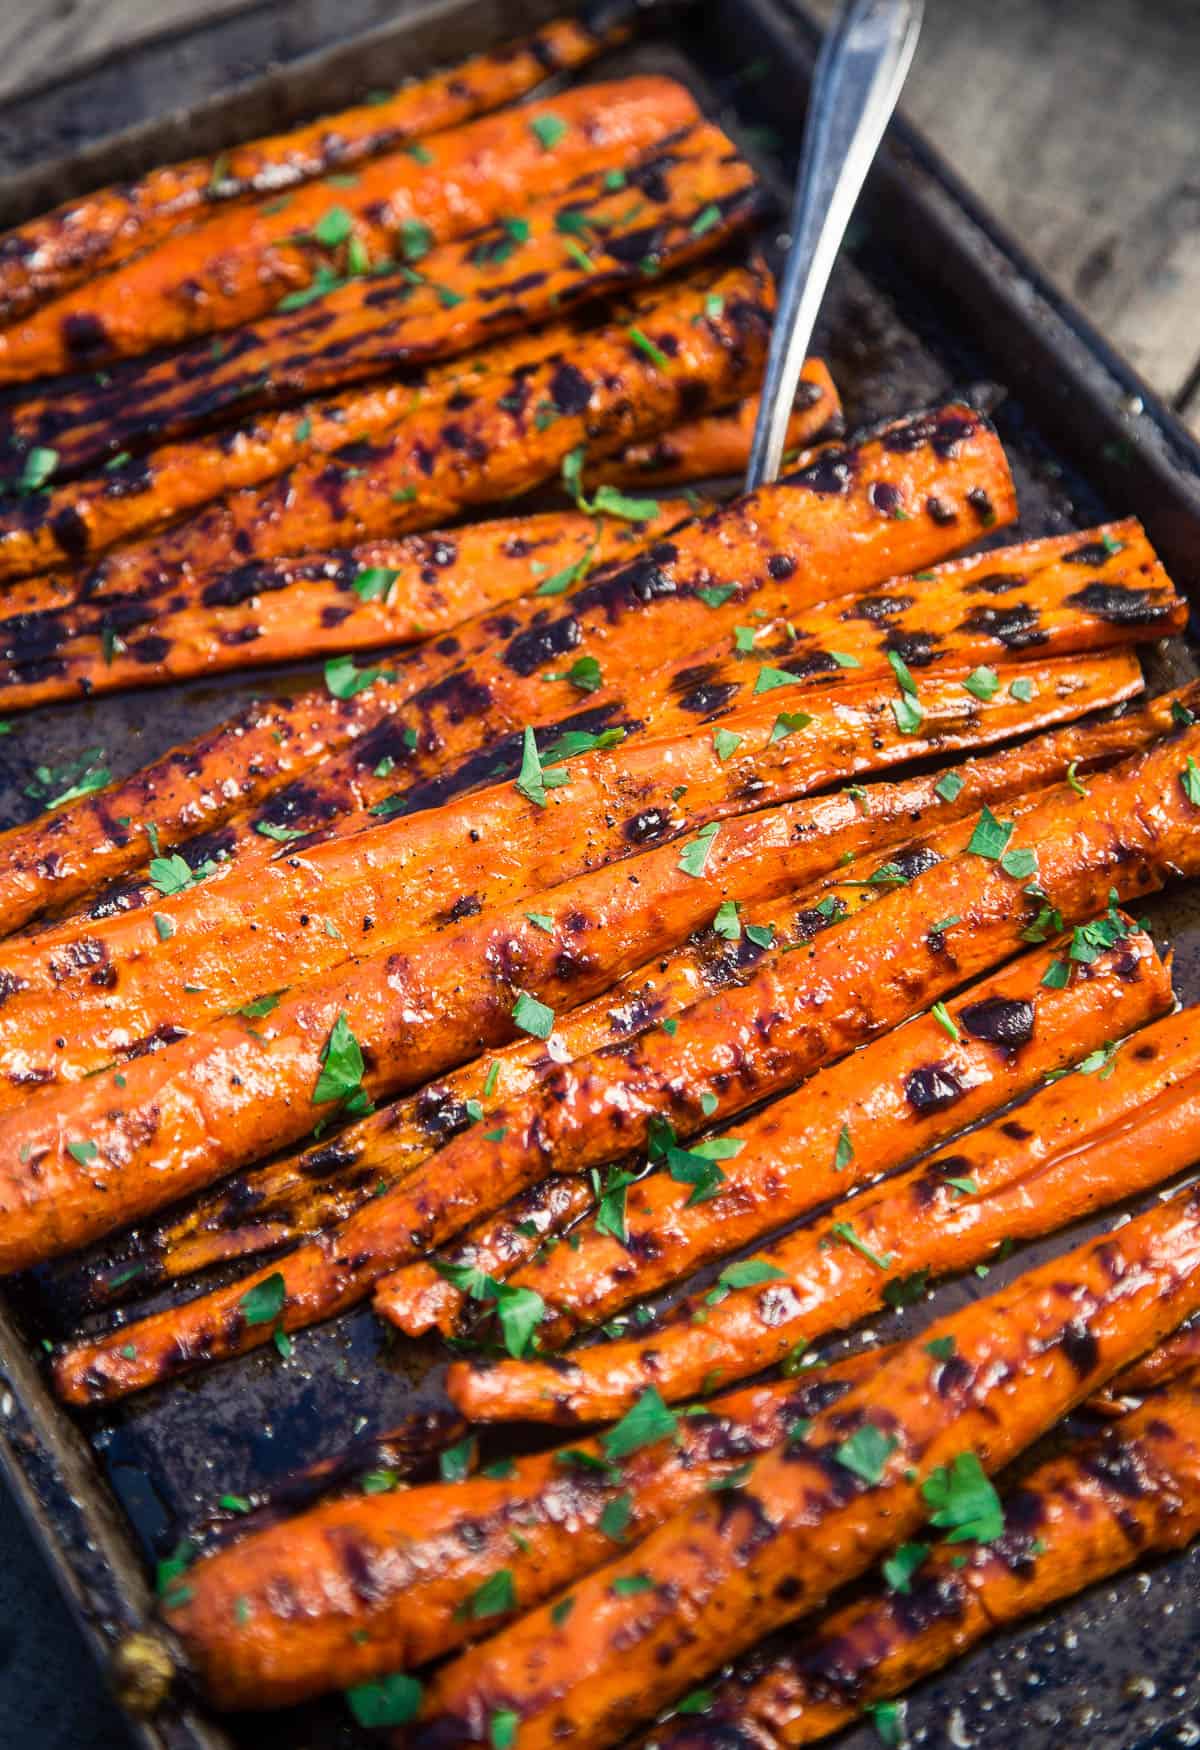
If it wasn’t for me, my husband and kids would live on bread and grilled meat alone. I’m the stickler in the family always keeping a close eye on those boys to make sure they’re getting enough vegetables. Our favorite way is to grill carrots is to cook them on a hot grill and finish them with a sweet glaze. The texture is soft and chewy, a slight smoky flavor, and a sweet finish. Everyone loves it!
Table of Contents
I also love sharing side dishes you can cook on the smoker or grill, especially grilled vegetables, because too many people get stuck in the rut of only cooking proteins on the grill. My motto is anything you can cook inside, on your stovetop or oven, you can cook on your grill, and it’s so much better (not to mention more fun). Even veggies and side dishes!
As we prepare for the holidays this year, these grilled and glazed carrots will definitely please any picky eaters who may be sitting around the table.
Ingredients + Substitutions
There are just a handful of ingredients that make this grilled carrots recipe approachable and easy to find at the grocery store.
- Carrots – When picking carrots for the grill you want larger whole carrots that won’t fall through the grill grates. Ideally similar size larger carrots so they cook evenly. Stay away from baby carrots or small carrots for this recipe. If all you can find is medium sized carrots then consider grilling them peeled and whole (vs sliced in half, lengthwise).
- Glaze – Our simple glaze is brown sugar (you can use dark or light), honey, kosher salt, orange juice, and ground cinnamon. Easy and delicious!
- Finishing Sauce – If you’d like, you can also finish the grilled carrots with an aged balsamic vinegar or nice finishing salt after you’ve pulled them from the grill. Totally optional!
Carrot Buying Tip: Carrots should be fresh and snap if you crack them in half. If the fresh produce aisle has carrots that are soft and bend, try to find alternative carrots.
Preparation for Grilled Carrots
Rinse and dry carrots with paper towel. Peel the skins. Depending on the size of your carrots you can prepare them two ways: cut them in half lengthwise, or grill them whole. Thinner carrots do not need to be sliced down the middle and can be grilled whole.
The carrots seen in these photos were organic carrots purchased from Costco, and they were huge! Thick carrots will need to be sliced down the middle, lengthwise, before grilling, otherwise, you run the risk of burning the thin ends while the thicker portion cooks through.
There is no need to blanch the carrots prior to grilling.
Seasoning
On a rimmed baking sheet toss carrots in olive oil. The oil is all we are using to allow the heat and charcoal flavor the carrots and then allow the glaze to shine. If you are using a veggie seasoning, this is the time to apply the dry rub.
Best Glaze for Grilled Carrots
Prepare your glaze before grilling carrots. We’re keeping it super simple with a combination of butter, brown sugar, honey, and a pinch of salt. You can substitute maple syrup for honey if you prefer that sweeter flavor. Consider adding in any additional flavor elements to this, like orange juice, or your favorite baking spice (cinnamon is great with this!), or cayenne for heat.
Melt all glaze ingredients together in a small saucepan over medium heat until the brown sugar has dissolved and then apply to the carrots per the recipe instructions.
Would you like to save this?
How to Grill Carrots
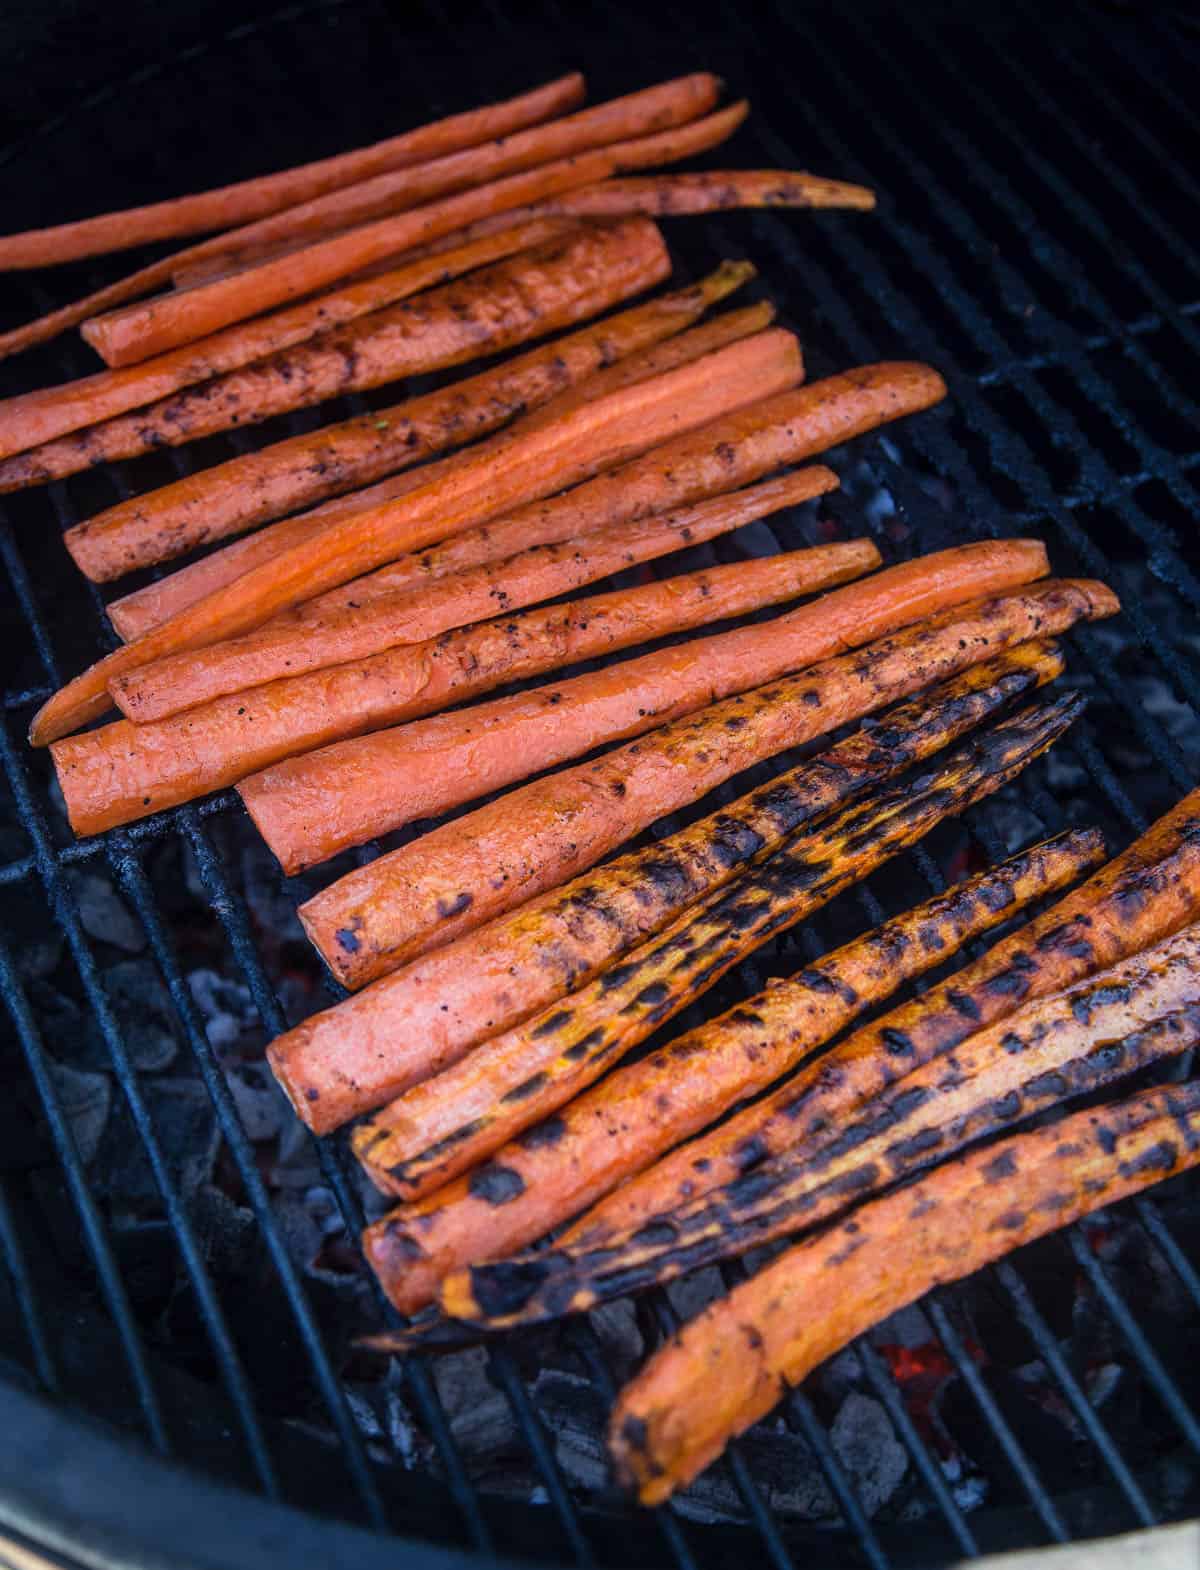
- Prep Grill: Set up your grill for two-zone (or indirect) grilling on a charcoal grill. Target an internal temperature of the grill at 450 degrees Fahrenheit using lump charcoal.
- Grill Direct: Place carrots on grill grates over direct heat and begin grilling. The side over hot charcoal will be running at least 50 degrees hotter than the dome temperature. Do not walk away from the grill. Turn carrots often to get all sides slightly charred.
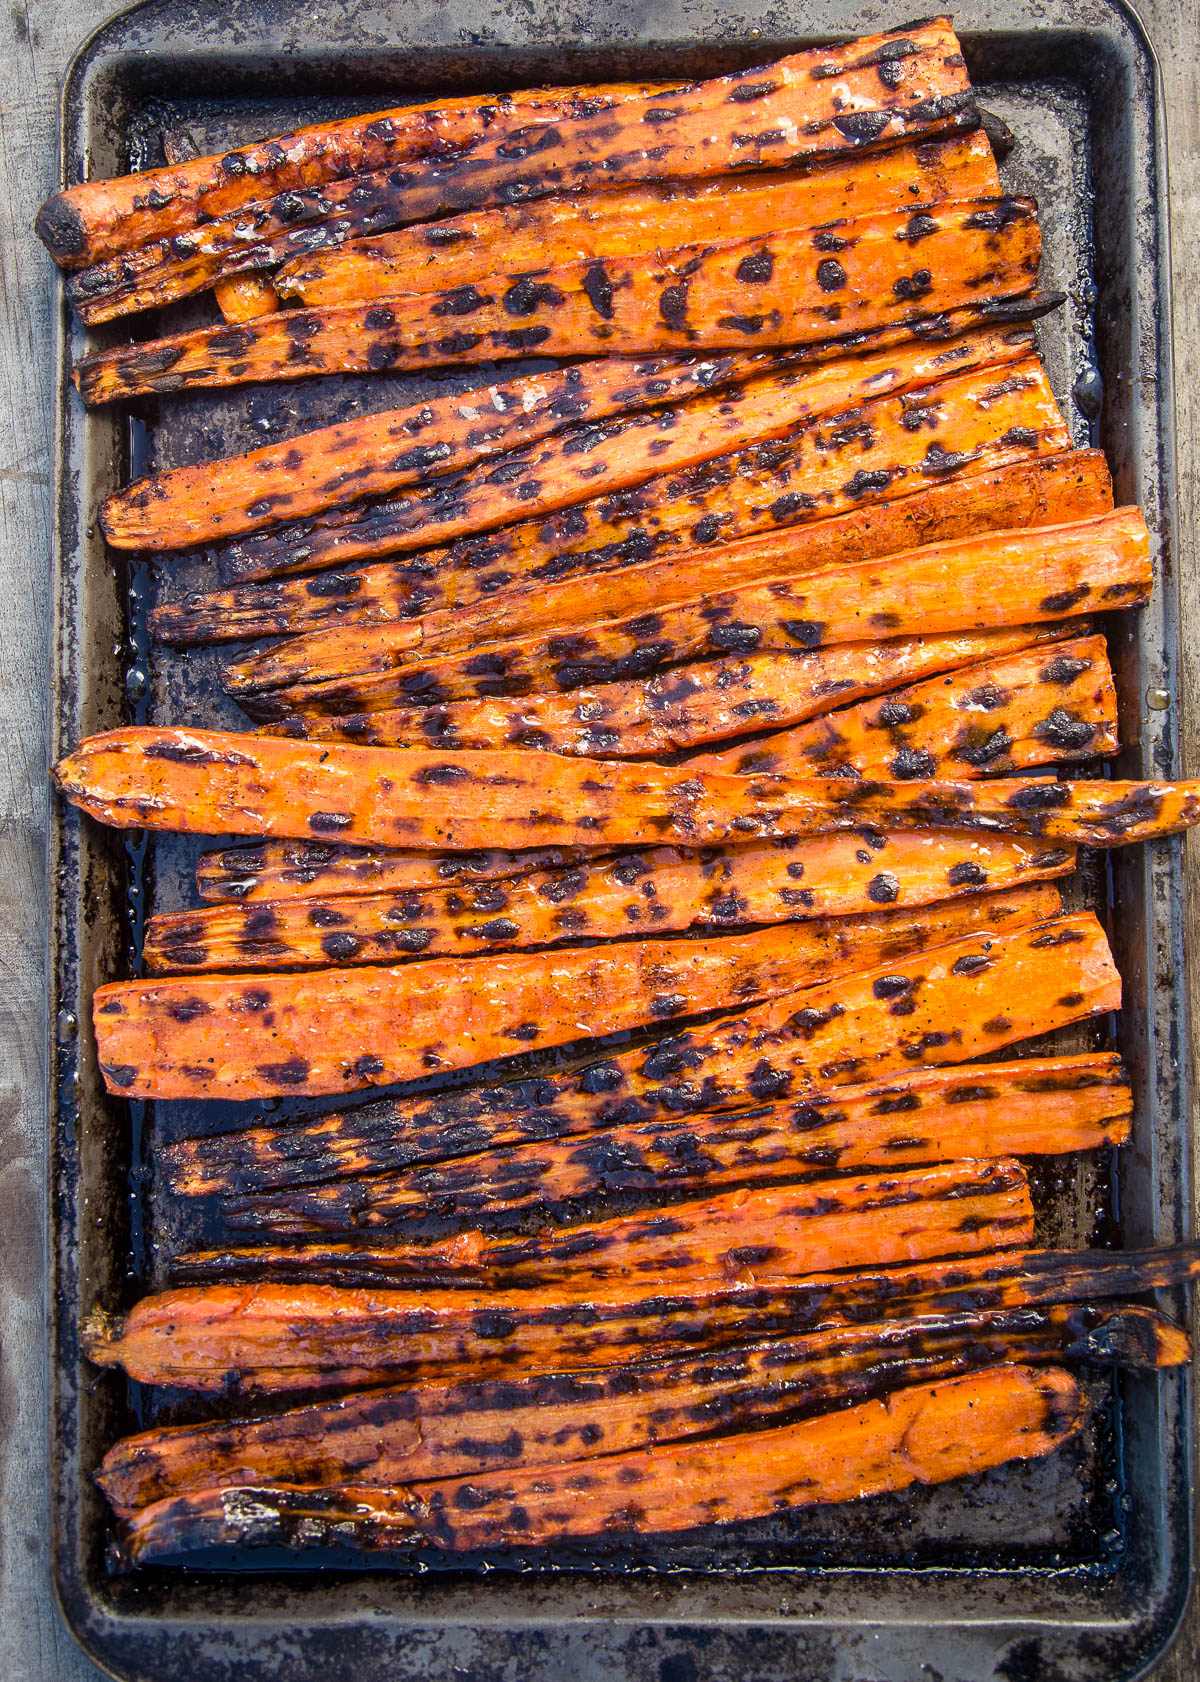
- Rotate: If they are cooking too fast (getting charred before they are fork tender), move them to indirect heat to finish cooking. This process should take about 12-15 minutes, depending on the thickness of your carrots and how hot your grill is. The carrots should be fork tender before removing with a nice char. Note the thinner tips of the carrots will cook faster.
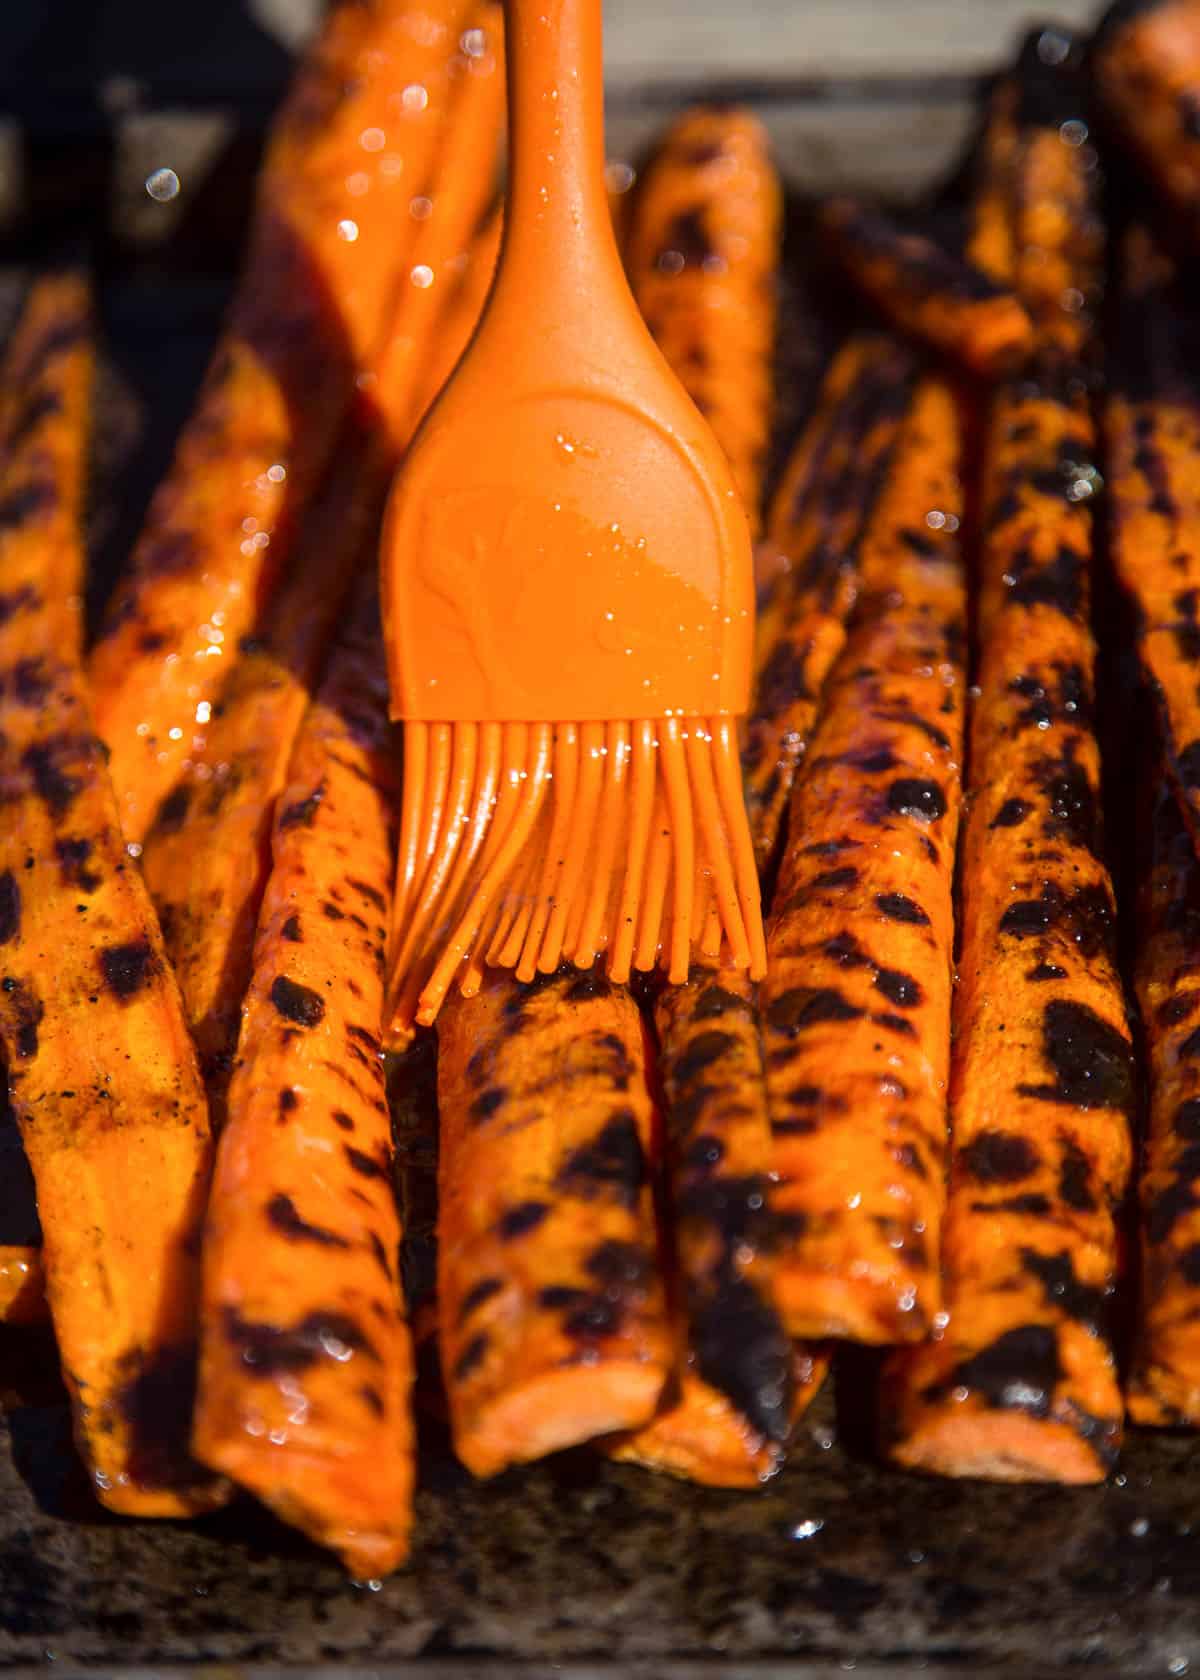
- Glaze: When carrots are soft use a silicone brush and glaze them over indirect heat. Close the lid and let roast for 1 minute. Remove and serve warm. Glaze any sooner and they run the risk of caramelizing and burning over the flame.
Main Course Ideas with Grilled Carrots
There is nothing more classic than grilled carrots with roast chicken in the pellet grill or smoked chicken. Or explore all of our dinner recipe ideas here. It also makes for a crowd-pleasing side dish for your Thanksgiving or holiday dinner.
More Vegetable Side Dishes for the Grill
Check out all of our vegetable recipes or explore some of our favorites.
- Grilled Romaine with Tomatoes and Basil
- Smoked Pickled Onion Coleslaw
- Grilled Romaine Caesar Salad
- Grilled Beet Salad with Rosé Infused Cranberries and Smoked Bacon
- Collard Greens with Smoked Turkey Leg
This recipe was originally published in April 2019, and updated in November 2023 with updated information and details. The original recipe remains the same.
About Vindulge
Mary (a certified sommelier and recipe developer) and Sean (backyard pitmaster) are co-authors of the critically acclaimed cookbooks — Fire + Wine and Fire + Wine Backyard Pizza — and have been creating content for the IACP-nominated website Vindulge since 2009. They live in Oregon on a farm just outside Portland.

Get a signed copy of our cookbook! Order Now
If you like this recipe we’d truly appreciate it if you would give this recipe a star review! And if you share any of your pics on Instagram use the hashtag #vindulge. We LOVE to see it when you cook our recipes.
Grilled and Glazed Carrots Recipe
Equipment
- 1 Silicone Brush for Glaze
- 1 Small Sauce Pan
- 1 Sheet Tray
Ingredients
- 1 pound carrots (if thick carrots, slice down the middle lengthwise)
- 1 tablespoon extra virgin olive oil
For the Glaze
- 2 tablespoons butter
- 1/4 cup brown sugar
- 1/4 cup honey
- 1/8 teaspoon salt (just a pinch)
- 1 tablespoon orange juice (optional)
- 1/4 teaspoon cinnamon (optional)
Instructions
- Preheat Grill: Prepare grill for direct/indirect cooking, targeting 450 degrees.
- Grill Carrots: Toss carrots in olive oil, then place directly on the grill over direct heat. Rotate every few minutes to get a slight char on each side. If they begin to burn move them to indirect heat to finish cooking (about 12-15 minutes total cooking time). You're looking for the carrots to be fork tender.
- Glaze Carrots: Just before pulling the carrots off the grill glaze them once. Let them cook one more minute on the grill, then remove from grill and glaze one more time. Serve immediately.
For the Honey Glaze
- In a small saucepan over medium heat add butter, brown sugar, honey, and salt and mix together. For additional flavor add cinnamon and orange juice. Whisk frequently until the brown sugar dissolves. Glaze the carrots immediately with the hot glaze.
Video
Notes
Nutrition
Nutrition information is automatically calculated, so should only be used as an approximation.


Super quick & easy to make. Loved the recipe!
This looks interesting. I like roasted carrots, I will try this out thank you. I think I mayl try with a little smoke in the beginning. Probably won’t make much difference.
Excellent! Can’t wait to see more from Vindulge.
One vegetable recipe I make over and over again! Very tasty and easy. My family loves them too and have asked to have the recipe shared with them.
Kenzie, thank you so much for the feedback!!
Peeling optional?
Peeling definitely optional.
I adore grilled carrots, they are such an unexpected treat to have on the grill. I can’t wait to try your glaze!
Wow! I’ve had glazed carrots, but never grilled AND glazed. These sound amazing!
These were fantastic! I’ve made a similar carrot recipe in the oven, but love utilizing the grill now that it’s getting nicer here in Portland! The char on the carrots really gave them something extra. YUM.
Yum I love the idea of all these interesting grilled side dishes to come from you!
I love roasted carrots but have never tried grilling them – I’m so excited to try this for grilling season! What a delicious vegetable side for a BBQ.